We are currently updating our site; thank you for your patience.
Equipment
Assets - Add Customer Asset Details
A Customer Asset should only be added in this manner when a customer brings in a machine, for service or repair, that was bought elsewhere (this would be a Client Owned Asset).
In this process, we will navigate from the Asset Listing (Machine List for []) screen. A customer asset can also be added from the Customer Listing screen.
Asset Listing Screen
Ribbon Select Equipment and Locations > Assets

- The Machine Listing screen will be displayed.
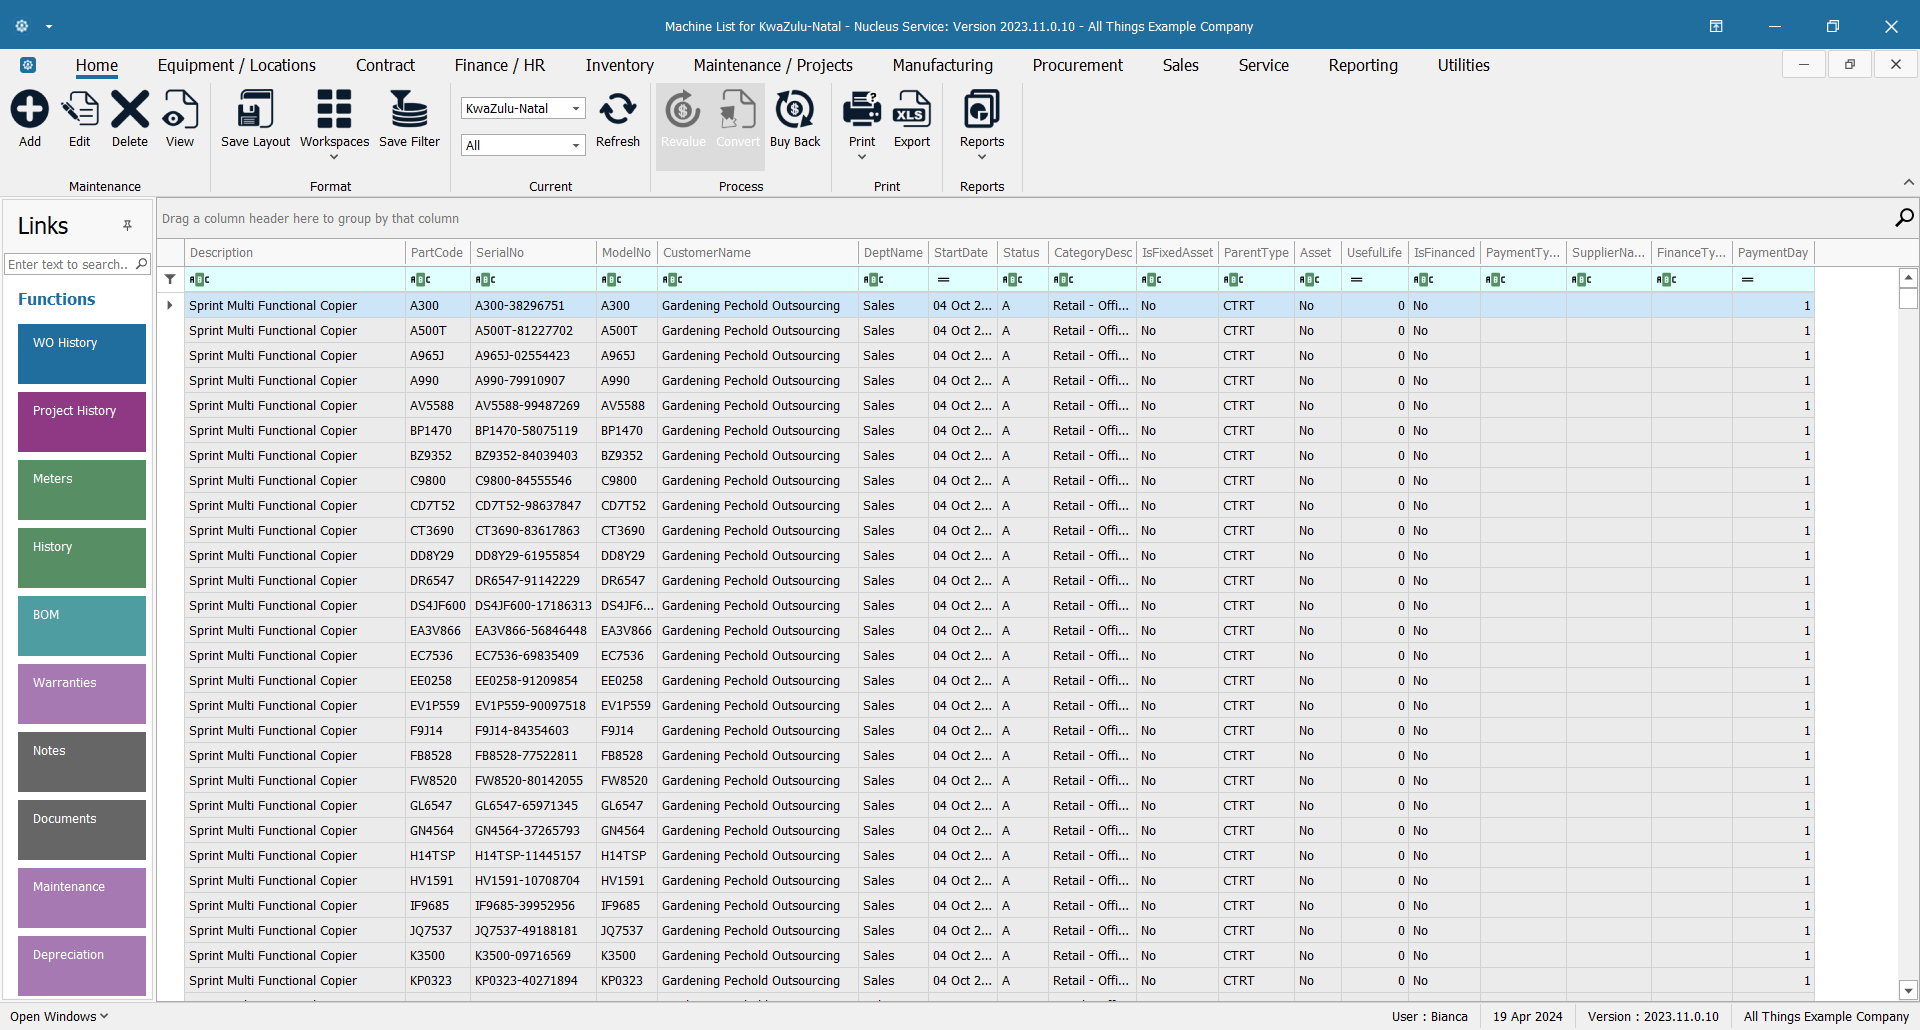
Your employee user record should be linked to a default site. In this case, the site will auto populate with this default, otherwise the site must be manually selected.
Another site can be selected, if required, and if you have the security rights to access the site.
If All Sites displays here, then you do not have a default site configured on your user record, and need to select the required site.
- Click on Add.

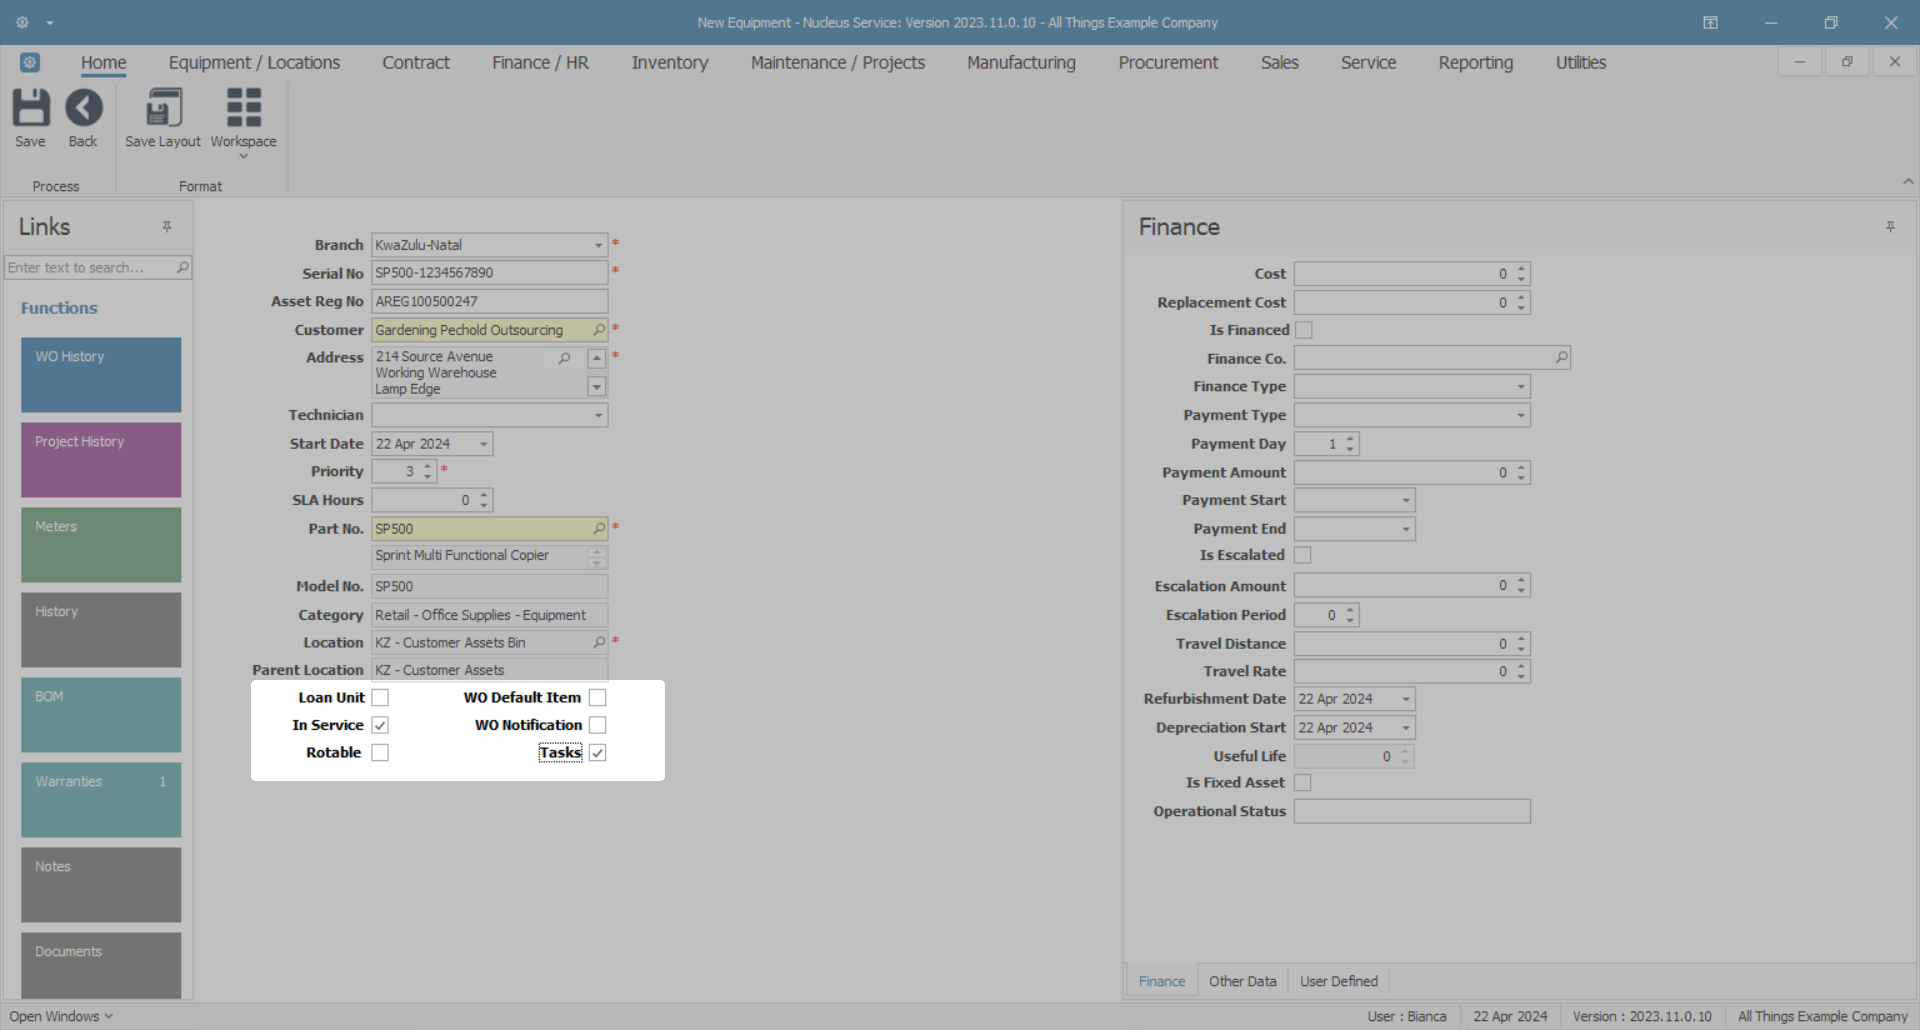
Add Customer Asset Details
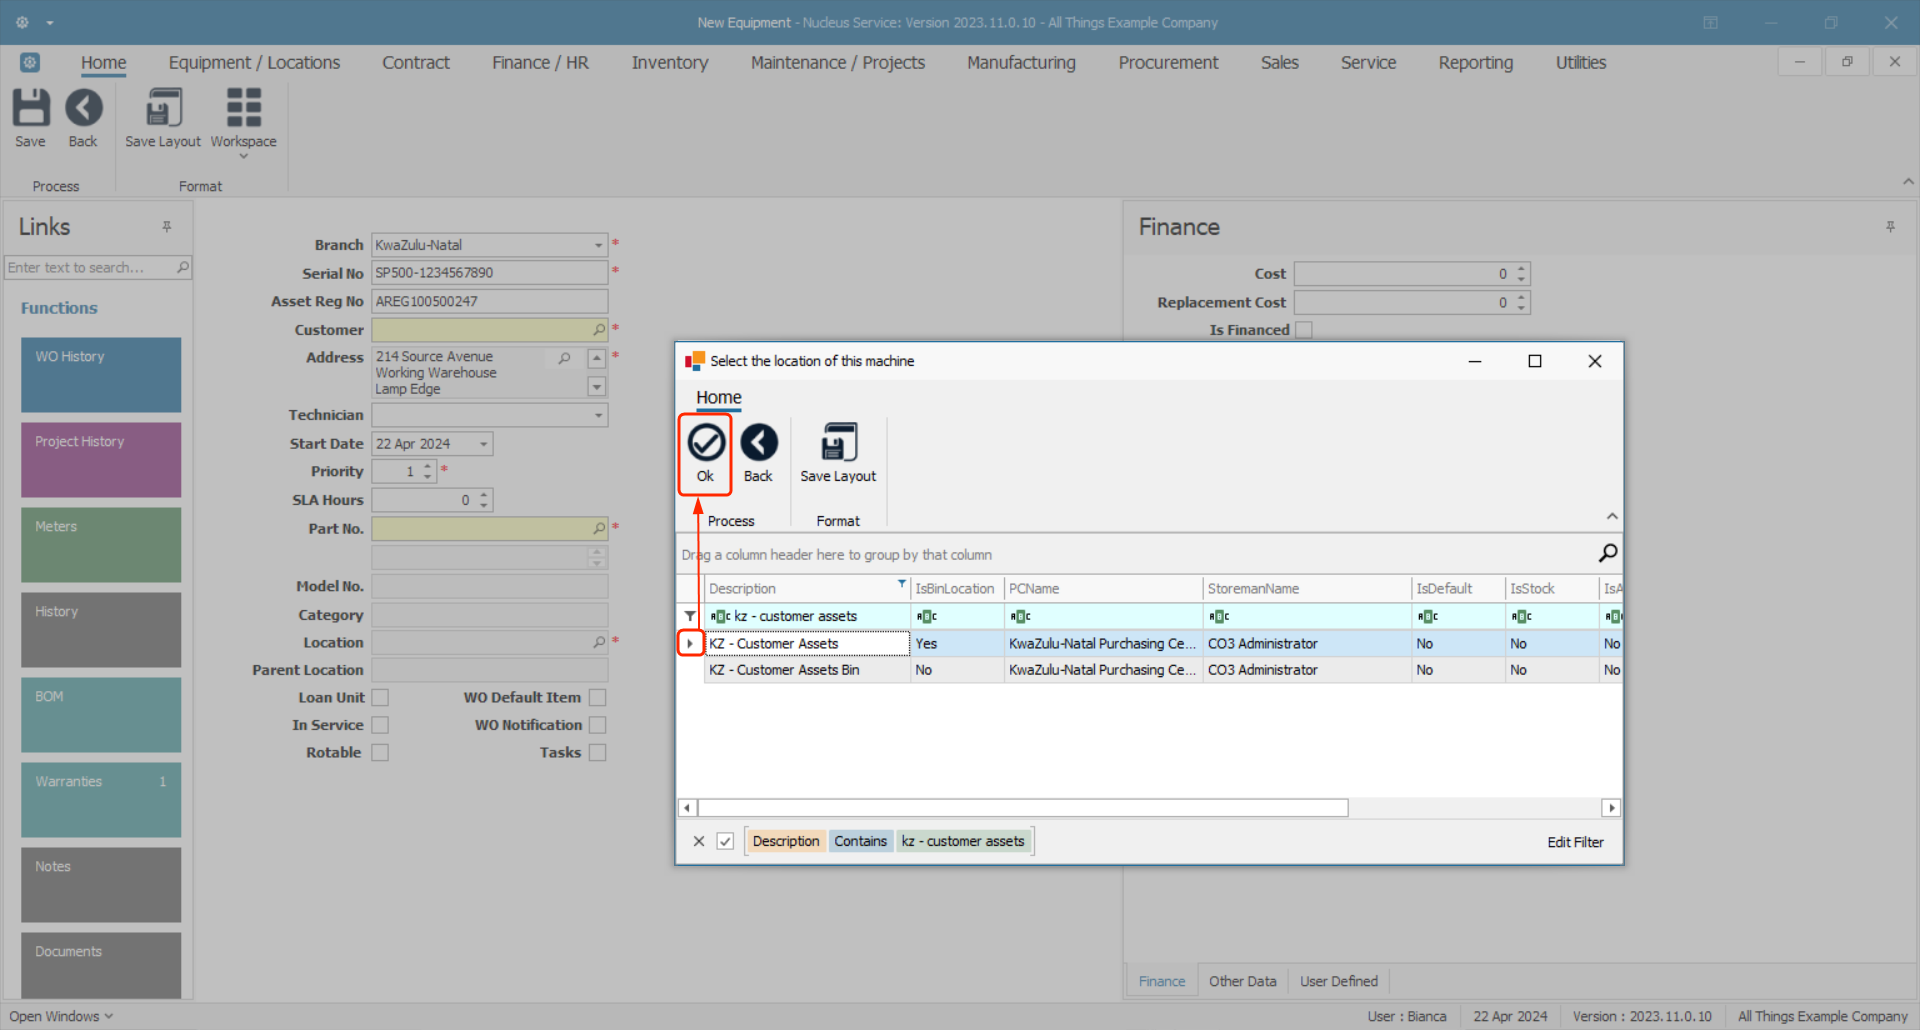
- The New Equipment screen will open.
- Add the customer asset details:
- Branch: The branch or site the customer asset is to be linked to. This is auto populated by the Site selected in the Machine Listing screen.
- Serial No.: Type in the serial no. of the customer asset. This is the number provided by the supplier of the asset.
- Asset Register No.: Also known as a Fixed Asset Number and is generally used for internal assets to make it easier for the maintenance team to identify the assets as per the company's unique internal system.
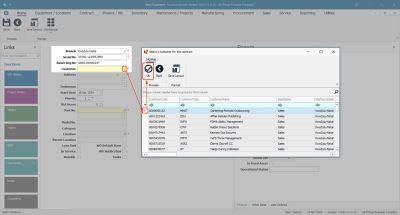
- Customer: Click on the search button and select from the pop up screen, the name of the client that owns the asset. If the customer is not listed here then follow the process to add a new customer.
- Location: The Select the Location... screen will pop up as soon as the Customer and Address fields are populated. The Customer Asset Warehouse bin should be selected in this pop-up screen. Click on Ok. (This provides a temporary non-stock and non-asset warehouse location for the item until it is put on contract.
- Parent Location: This will auto populate with the warehouse linked to the bin location above.
- Address: May auto populate if only 1 shipping address exists on the customer. Otherwise, search for and select the relevant shipping address (where the asset is physically).

- Technician: Click on the drop-down arrow and link a specific employee to this customer asset, where required. (This will be marked as 'Is Default' in the employee look-up when assigning a technician).
- Start Date: This will auto populate with the current date. You can either type in or click on the drop-down arrow and use the calendar function to select an alternative date, if required.
- Priority: Either type in or click on the arrow indicators and select an alternative priority number, if required. This is the work order priority of the customer machine. (1 = Most Important, 5 = Least Important).
- SLA Hours: Type in the Service Level Agreement (in hours). This is the agreed upon response time from when the call is logged by the client.
- Part No. and Description: Click on the search button and select from the pop-up screen, the number of the part to be linked as a customer asset. As this number is selected, the second field will populate with the description of the Part No.
- Model No.: This will display the model no. linked to the Part No. above, if applicable.
- Category: This will populate with the category linked to the part no. above e.g. Hardware.
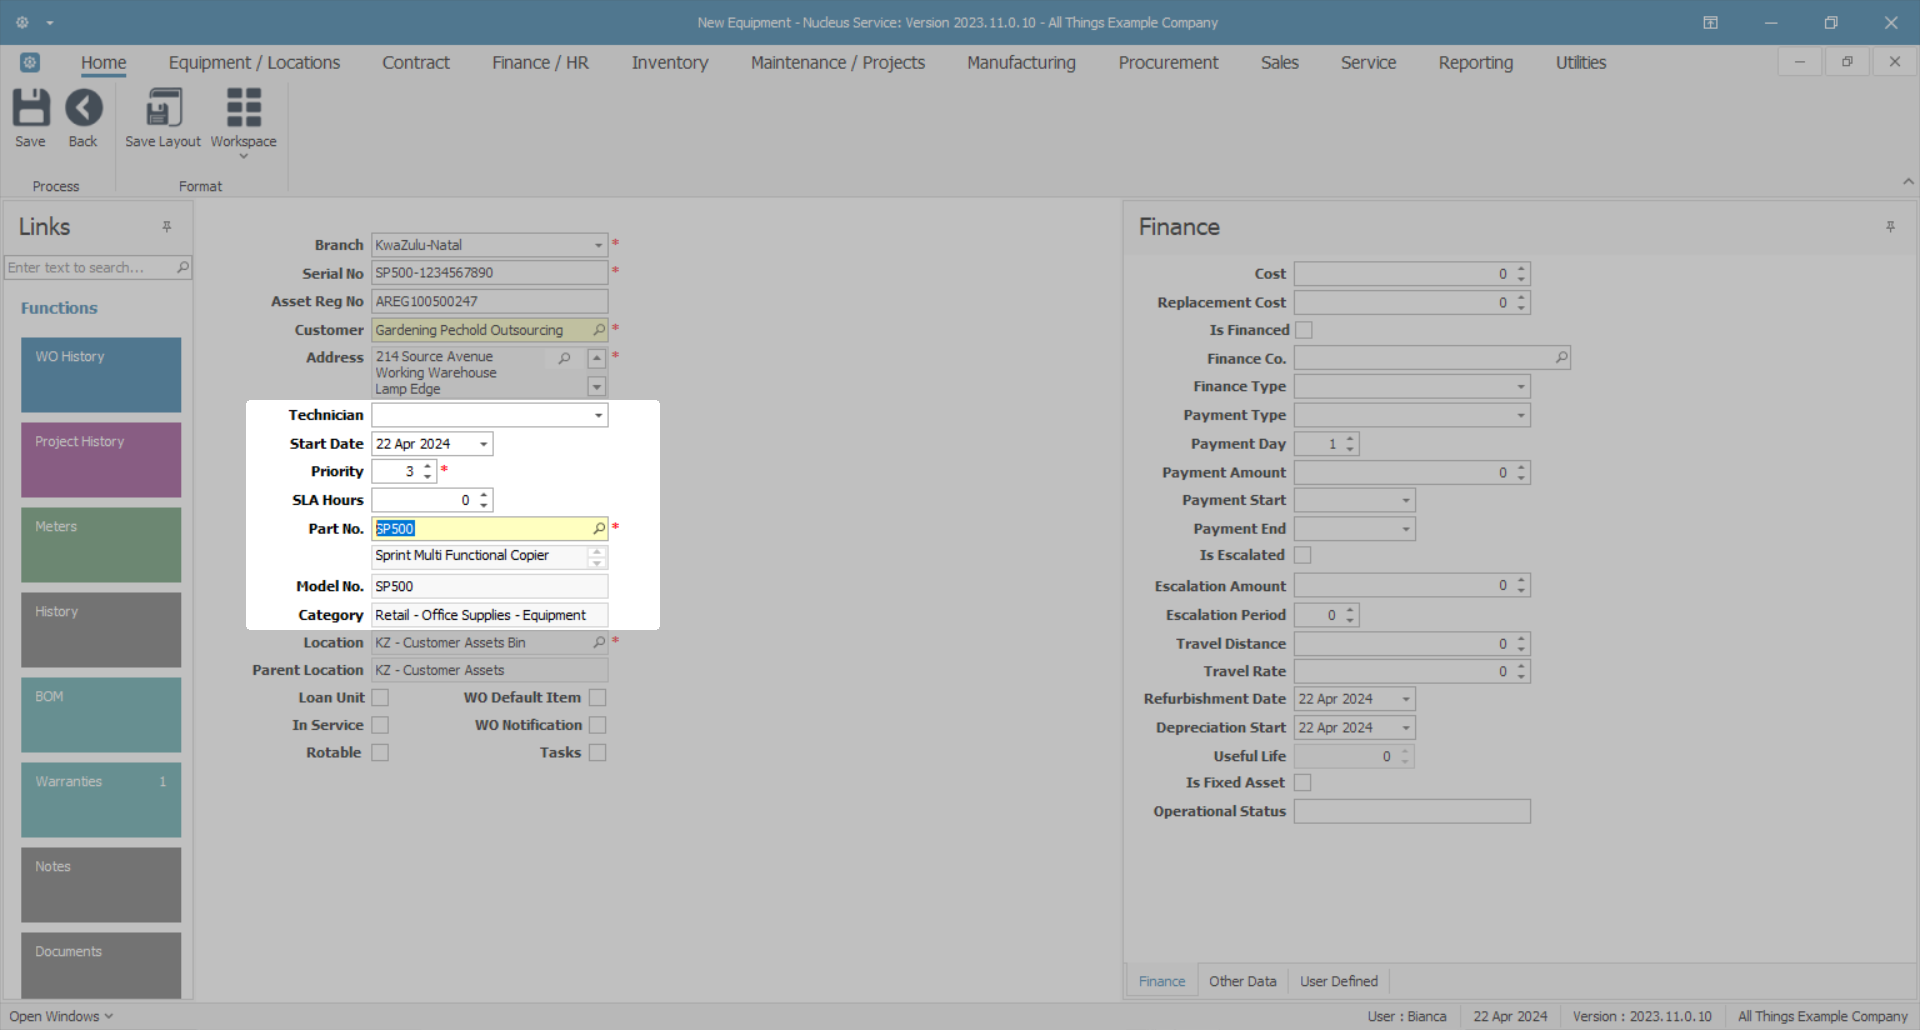
- Loan Unit: As this is a customer machine and not a loan unit, this check box will remain un-ticked. The Loan Unit flag is only ever used by the system when issuing an internal asset against a swap out request.
- In Service: Select this check box to indicate whether this asset falls within a Service Plan and needs to be periodically serviced. (Similar to a vehicle having a service plan.) This functionality is not currently in use in Nucleus Service.
- Rotable:Select this check box to indicate whether this asset is included in a rotable service plan. Rotable is a servicing method in which an already-repaired equipment item is exchanged for a failed equipment item, which in turn is repaired and kept for another exchange. This functionality is not currently in use in Nucleus Service.
- WO Default Item:If this option is set in the company configuration, one machine per customer needs to be marked as the default (this machine will pull through automatically when a customer is selected on a new call).
- WO Notification:Select this check box to indicate whether this asset is linked to an automated/scheduled task set up. A work order notification will be sent out when the asset is due to be serviced.
- Tasks:This check box is related to the above and is linked to the Maintenance / Project screen. Refer to Introduction to Tasks for more information.
- Once the customer asset details have been added, you can now follow the processes to:
- Add the asset Finance details
- Add the asset Other Data and
- Add the asset User Defined fields, as required,
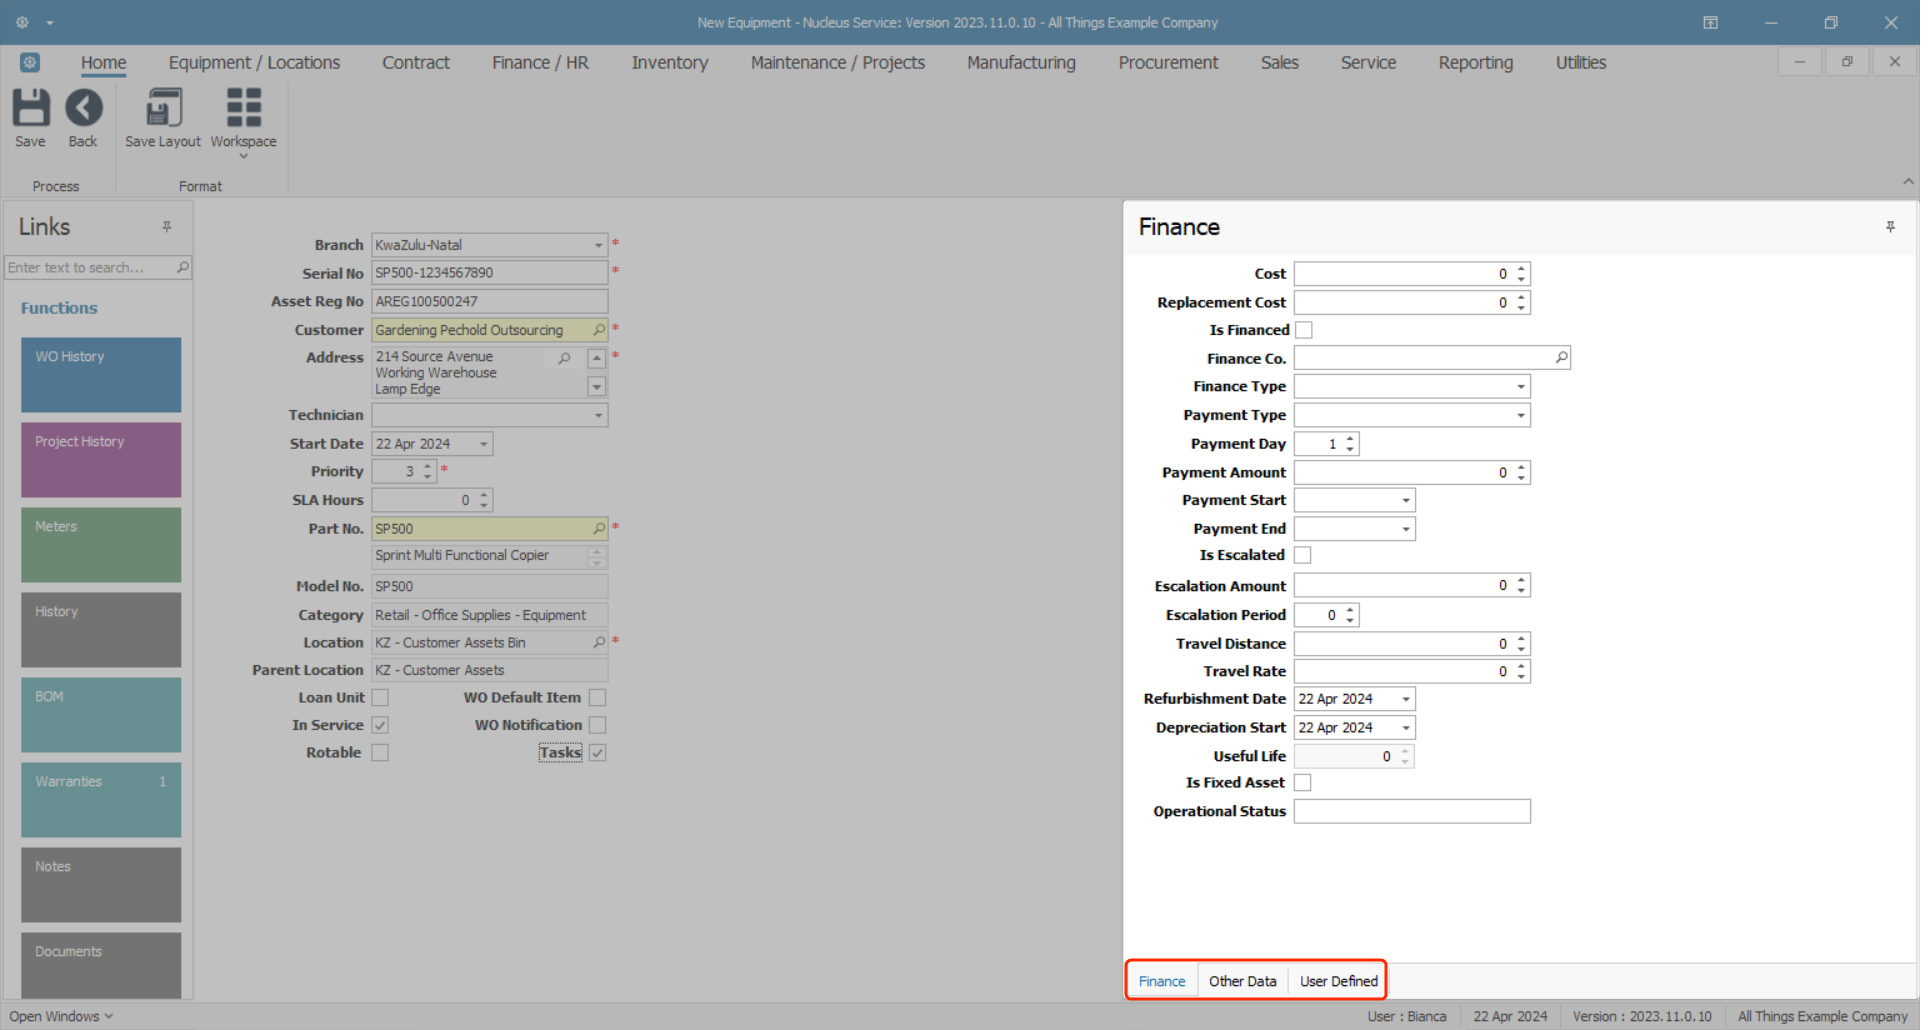
- before saving the new customer asset.

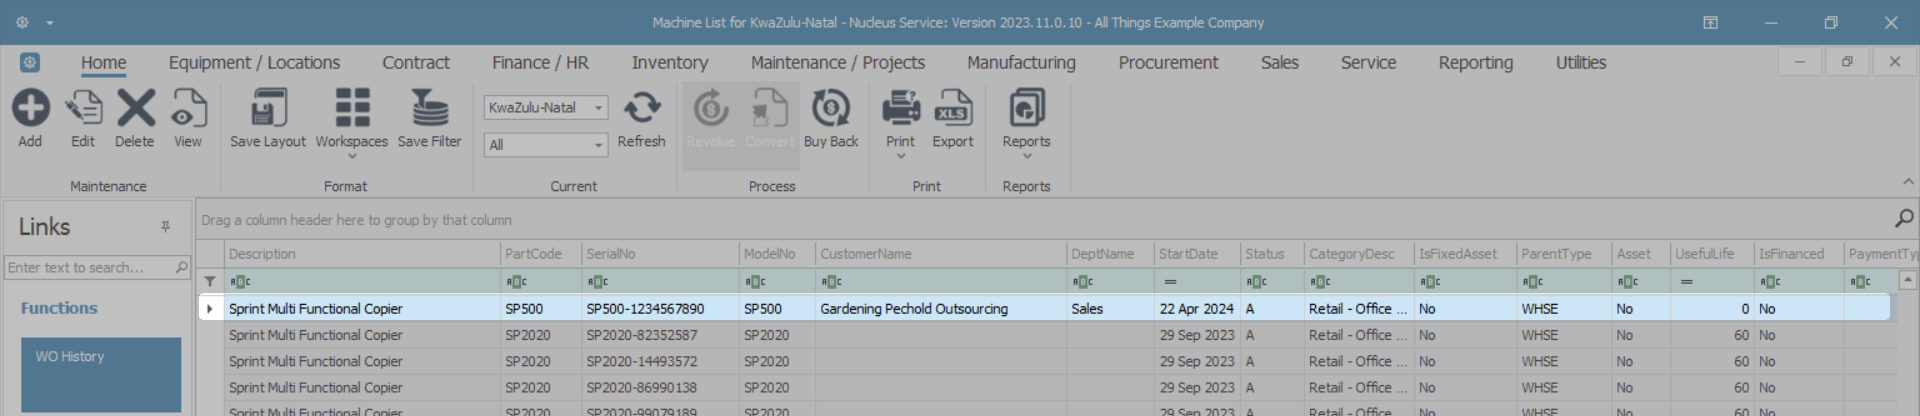
View Added Customer Asset
- You will return to the Machine List for [] screen.
- You will be able to view the added customer asset in the data grid.
MNU.007.034