Sales
Introduction to Quotes
This manual will give you an overview of the Sales Quotes screen and its related functionality.
A Sales Quote allows a customer to see the costs that will be involved for desired work or parts required. Upon customer approval, the quote can be converted into a Sales Order and then processed as either a POS Sale, New Deal Sale or New Deal Rental. Where additional work or parts are required on a current service call or project, the quote items will be added to the call or project work order to process.
Sales Quotes can be created in Nucleus Service, CRM and Sales Studio.
- If created in CRM, the Quote will need to be accepted by the customer before the quote will be active and available for editing in Nucleus Service.
- If created in Sales Studio, the Quote can only be Viewed and any changes to the Quote must be done via Sales Studio due to the additional information that can be linked.
- Once the Quotes have been approved in either CRM or Sales Studio, the remainder of the sales process will be done in Nucleus Service.
![]() Note the following:
Note the following:
- You must have a customer set up in order to create a quote.
- Quotes can be raised against customers on hold. The System Validation will prevent the creation of a Sales Order until the Customer has been released from hold.
- If the items on a quote are ordered on a regular basis by a customer then the quote can be cloned to save time and ensure continuity.
- The use of Sales Templates is not supported in Nucleus Service, as Sales Studio has an improved template functionality. Sales Templates can be applied to Quotes in CRM only where Sales Studio does not exist.
Ribbon Select Sales > Quotes

- The Sales Quotes listing screen will be displayed.
- The list of all the Sales Quotes will be filtered using the Site and Status selected.
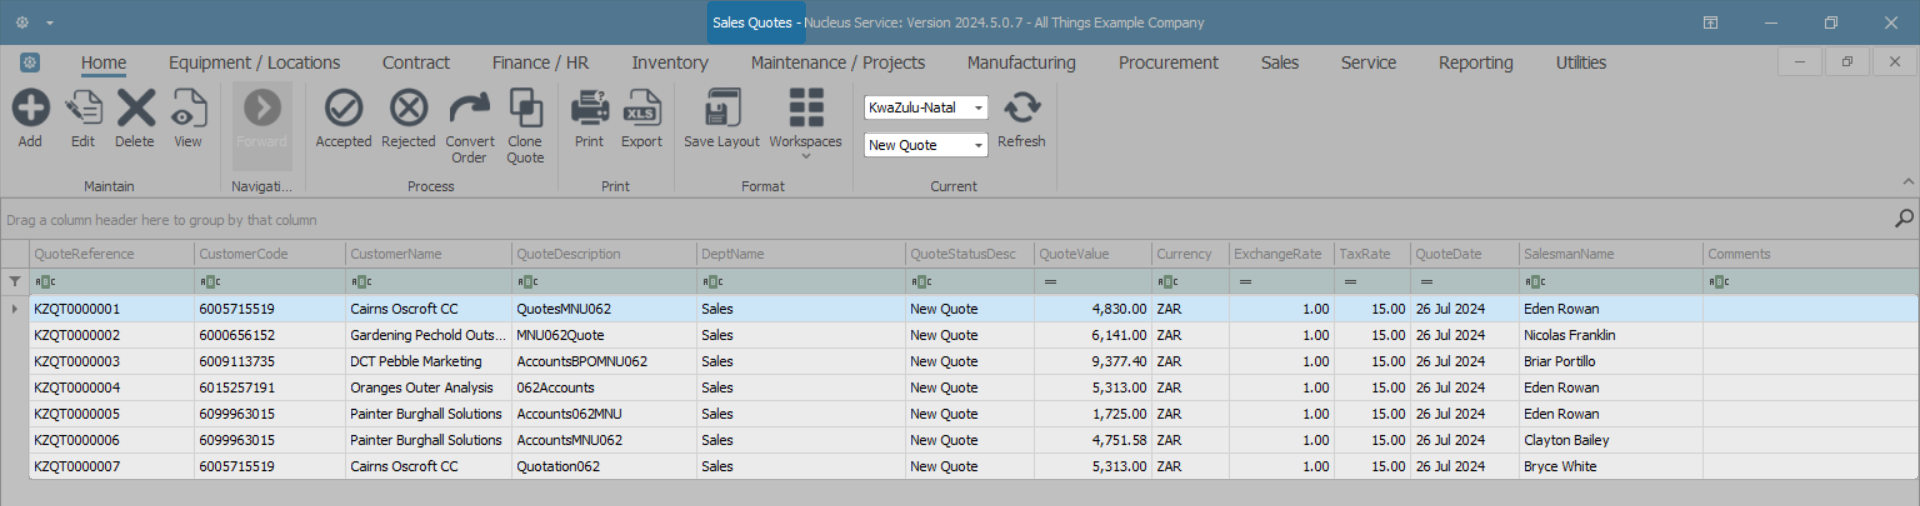
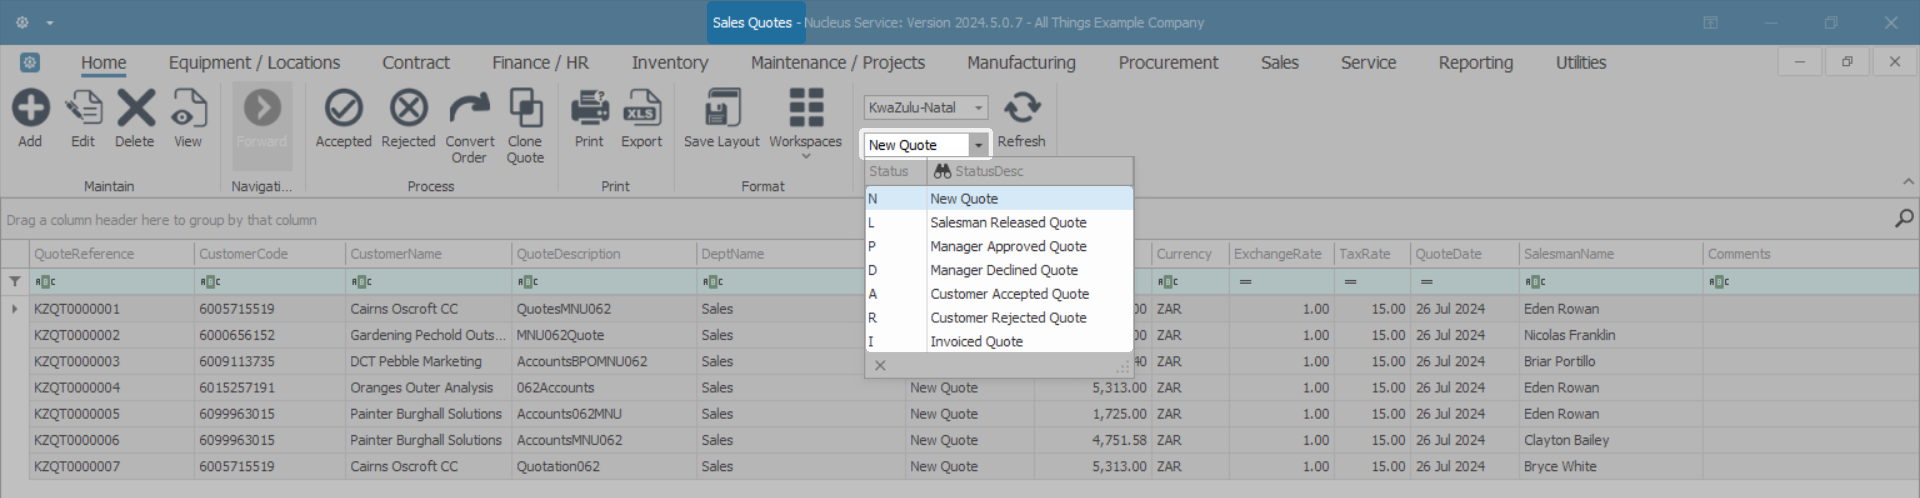
Sales Quote Status
- The Sales Quotes listing screen opens in the N - New Quote Status by default.
- Click on the Status drop-down arrow to display the Status selection options:
- L - Salesman Released Quote
- P - Manager Approved Quote
- D - Manager Declined Quote
- A - Customer Accepted Quote
- R - Customer Rejected Quote
- I - Invoiced Quote
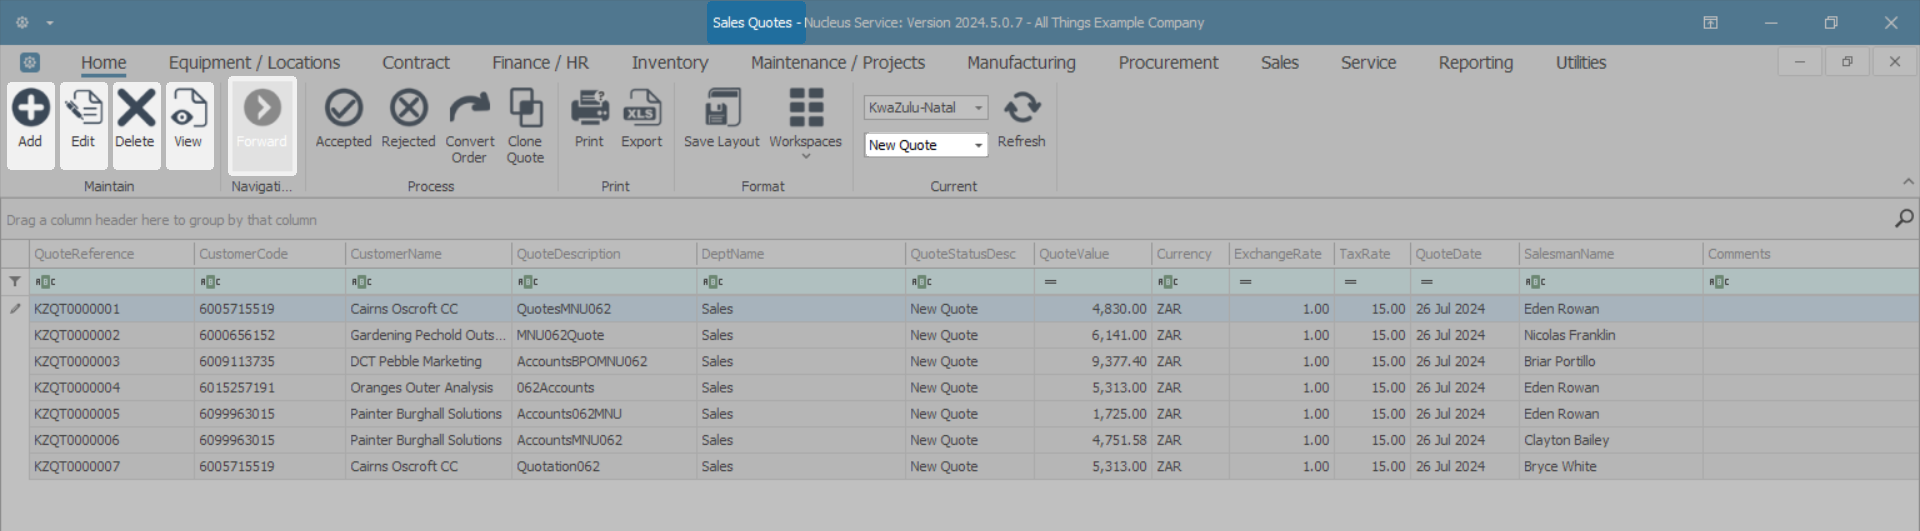
Ribbon Tool Bar
The Sales Quote ribbon action buttons will be available (bold) or unavailable (greyed out) depending on the status selection.
Quotes Maintain Buttons
- From the Maintain ribbon section you can choose to Add, Edit, Delete or View a Sales Quote.
- Note that the Forward button is greyed out in the New Quote Status and can be accessed when the Status is set to Quote Invoiced. This gives you the ability to navigate to the invoice created at the end of this sales process.
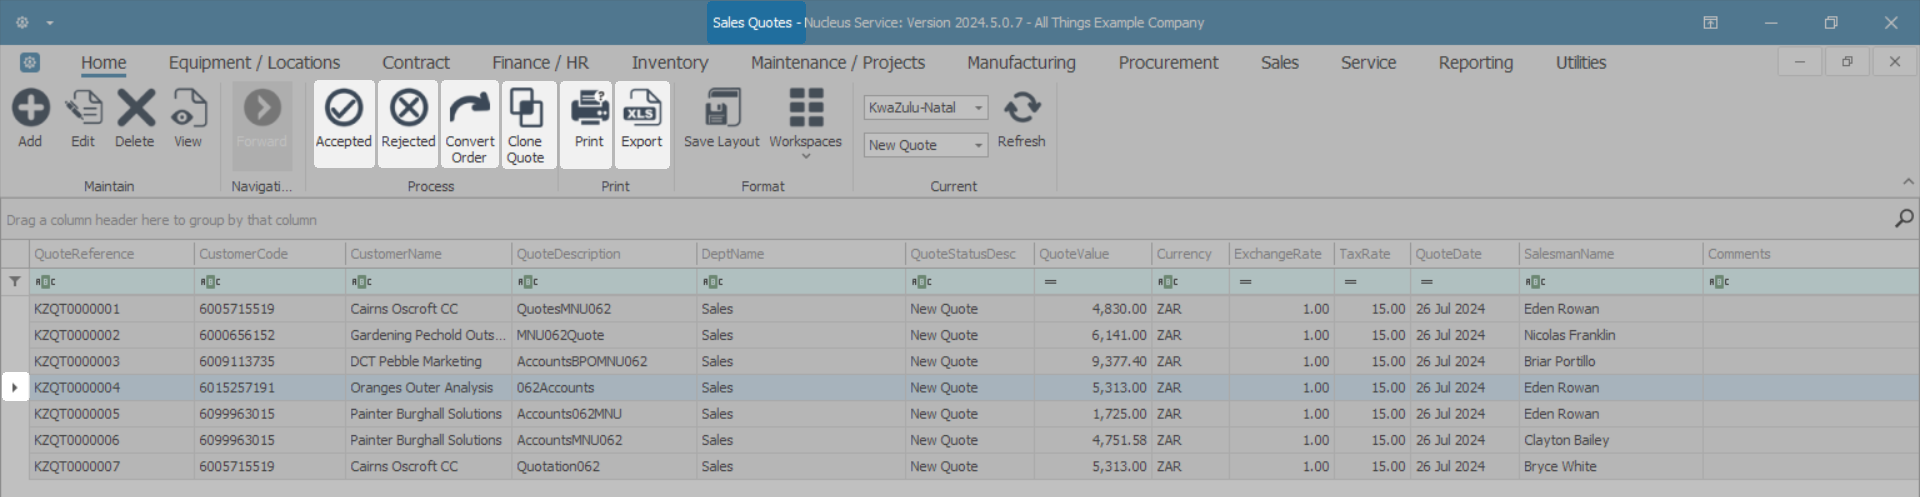
Quotes Process buttons
- On the Process ribbon section you can have Quote Accepted or Rejected buttons.
- You can also Convert Order and Clone Quote.
Print Sales Quote
- From the Print ribbon section you can:
- Print a Sales Quote.
- Export the Sales Quote listing screen in its current Status to an Excel spreadsheet.
Sales Quote Listing screen
Using Filters
For the purpose of this example, the list of Customer Accepted Sales Quotes has been filtered using the Quote Date.
- Change the Status to Customer Accepted Quote.
- The Sales Listing screen will display only Sales Quotes with a QuoteStatus [A].
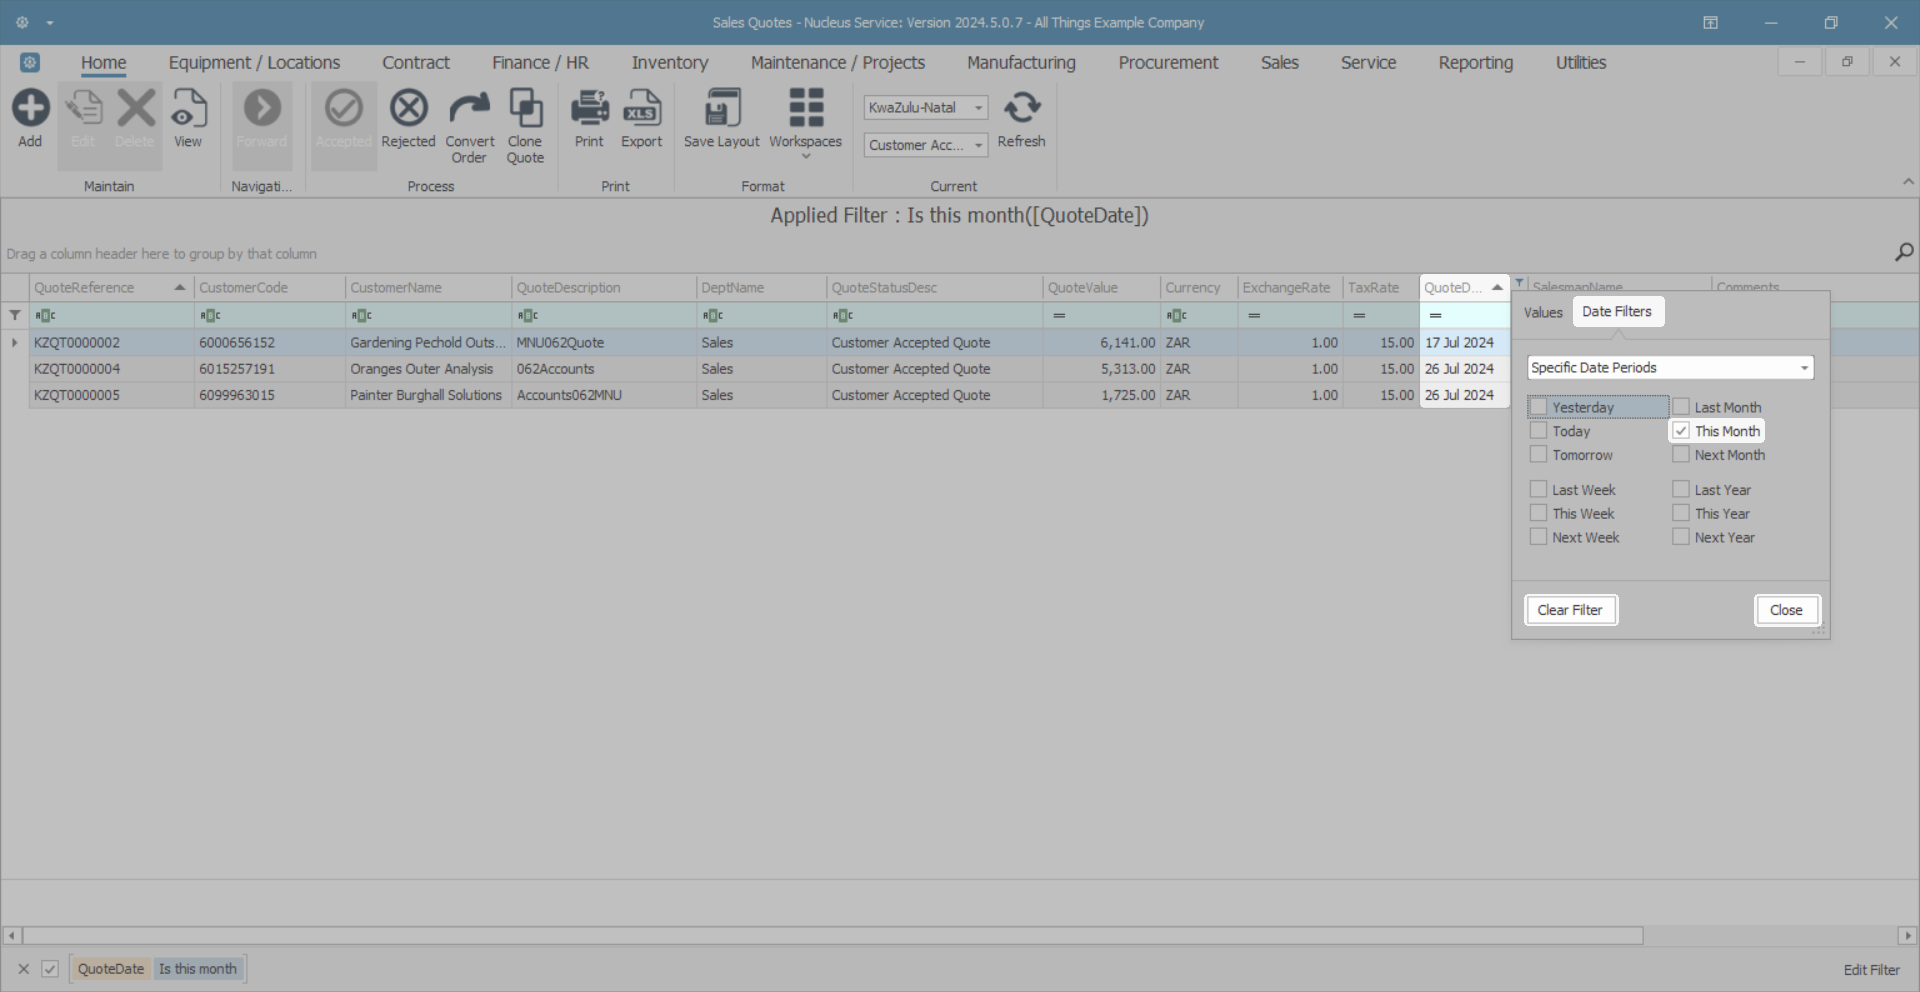
- Click on the filter next to QuoteDate to display the Date Filters selection box.
- Click in the tick box(es) to choose the date(s) you wish to list.
- The example has 'This Month' selected.
- Note that the Sales listing screen updated with the Sales Quotes from This Month only.
- Click Clear Filter to reset the Listing Screen or click Close to continue to the Sales Quotes listing screen with the current filter setting.
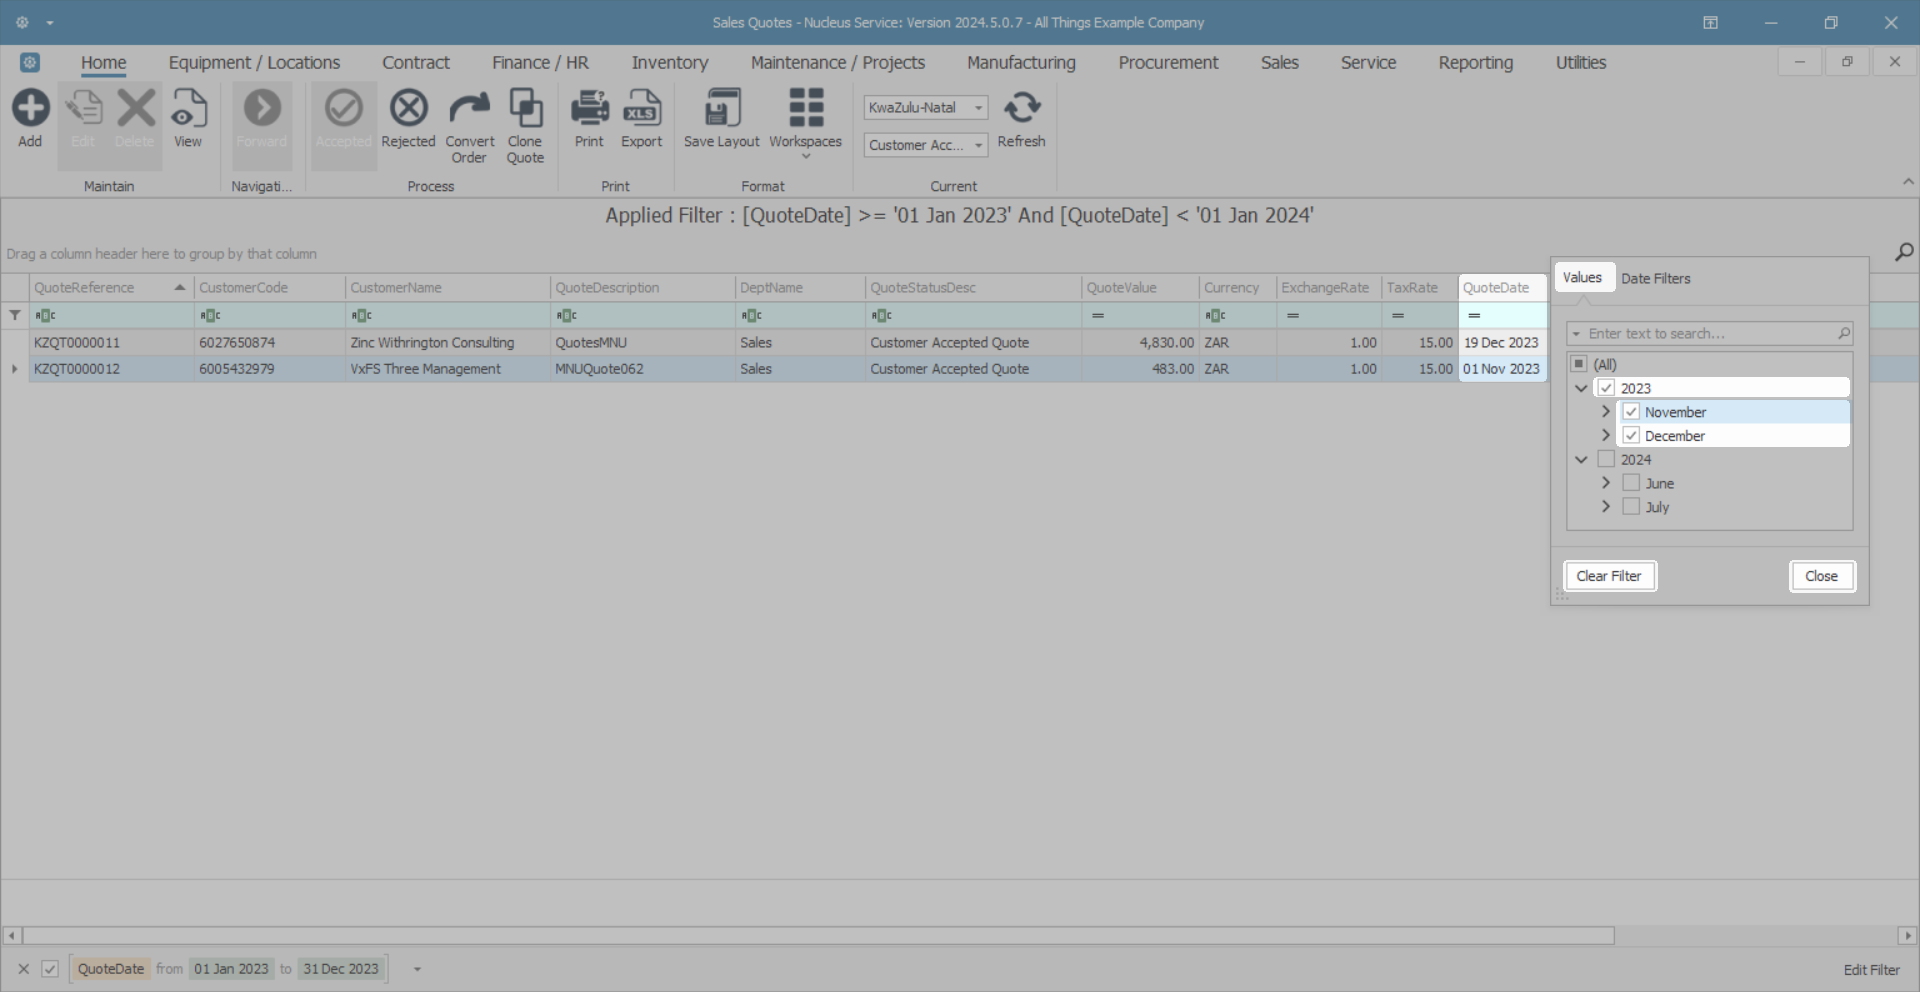
- Click on the Values Tab on the Date Filter screen to display a date summary of the Sales Quotes that have been Accepted by Year and Month.
- Click in the tick box(es) next to the Year and Month(s) you would like to list.
- The example has the year 2023 and the months of November and December selected.
- Click on Clear Filter to reset the listing screen or Close to continue with the current filter setting.
 Note that the listing screen has updated with your date selection.
- Close the screen when you are done.
BPO.MNU.062