Human Resources
Employees - View Employee
| Ribbon Access: Finance / HR Employees |

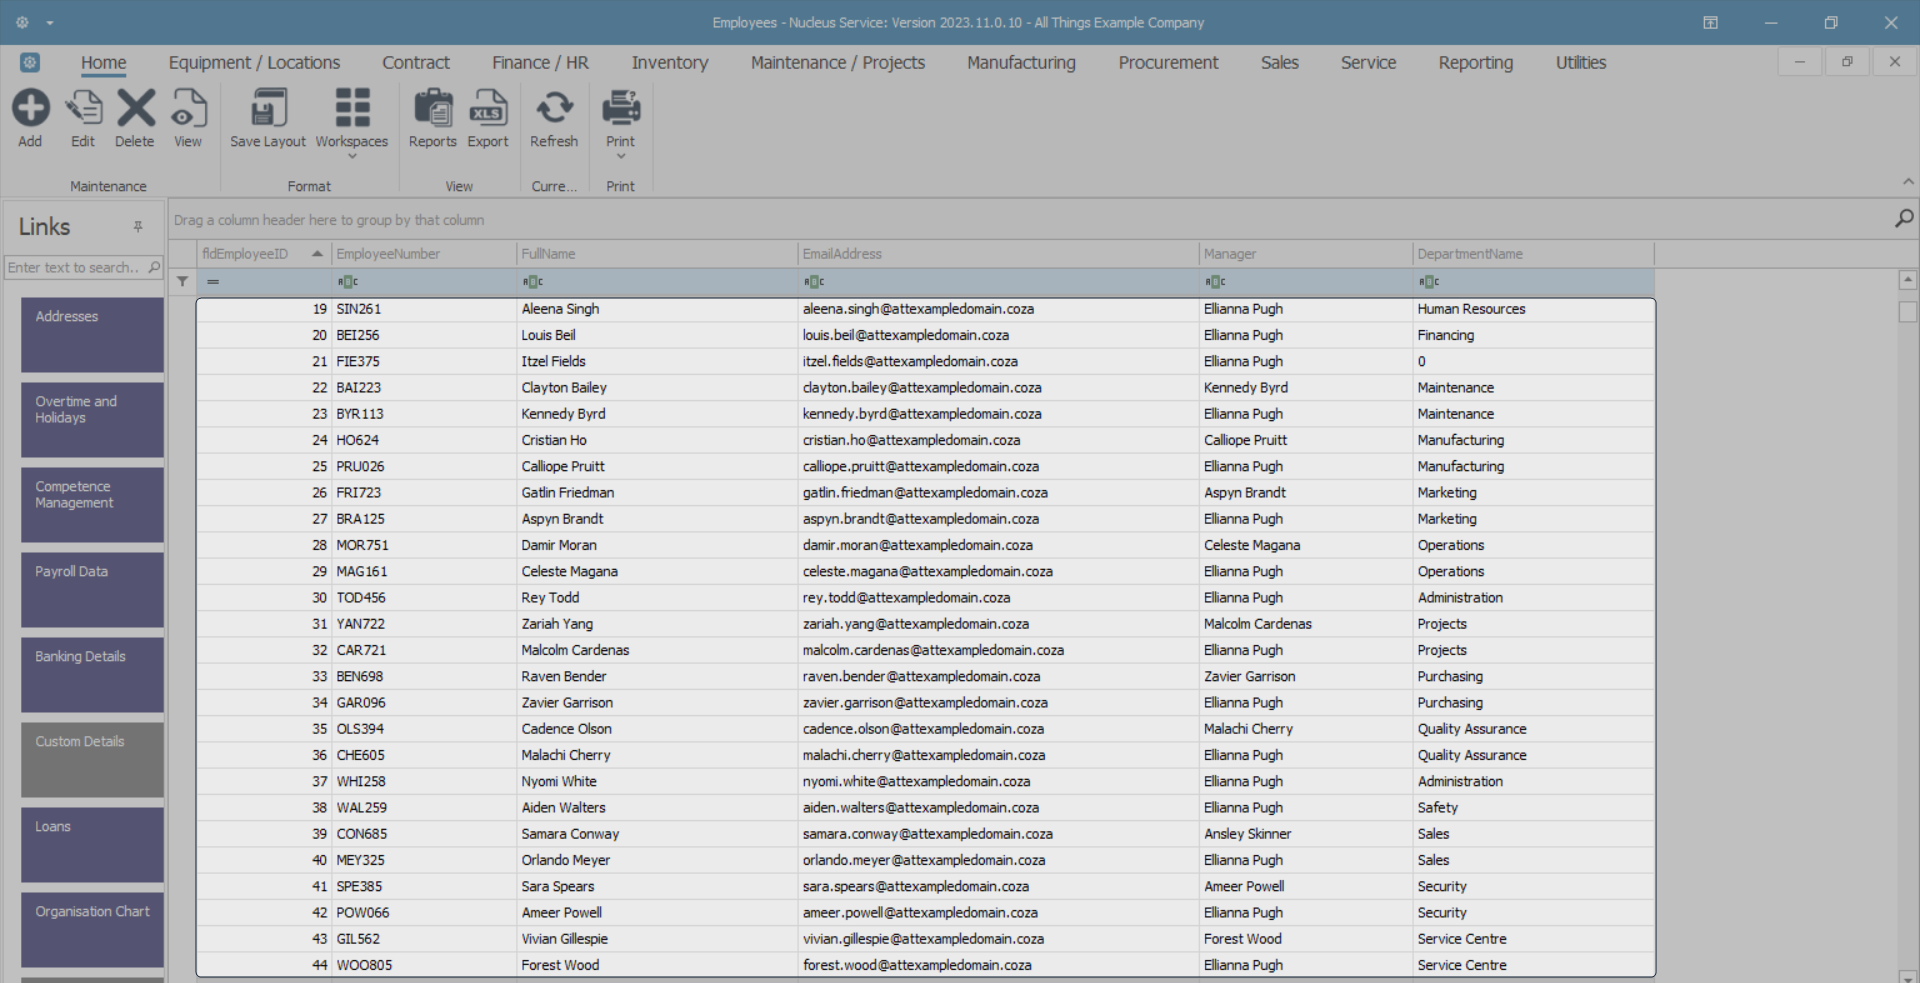
View Employee Listing Details
- All the employees currently set up on the system can be viewed in the data grid.
- Scroll through the list -
- Or use the filter row to find a particular employee.
- Only certain employee details are available in the data grid in this screen.
For more comprehensive information, you will need to navigate to the View screen.
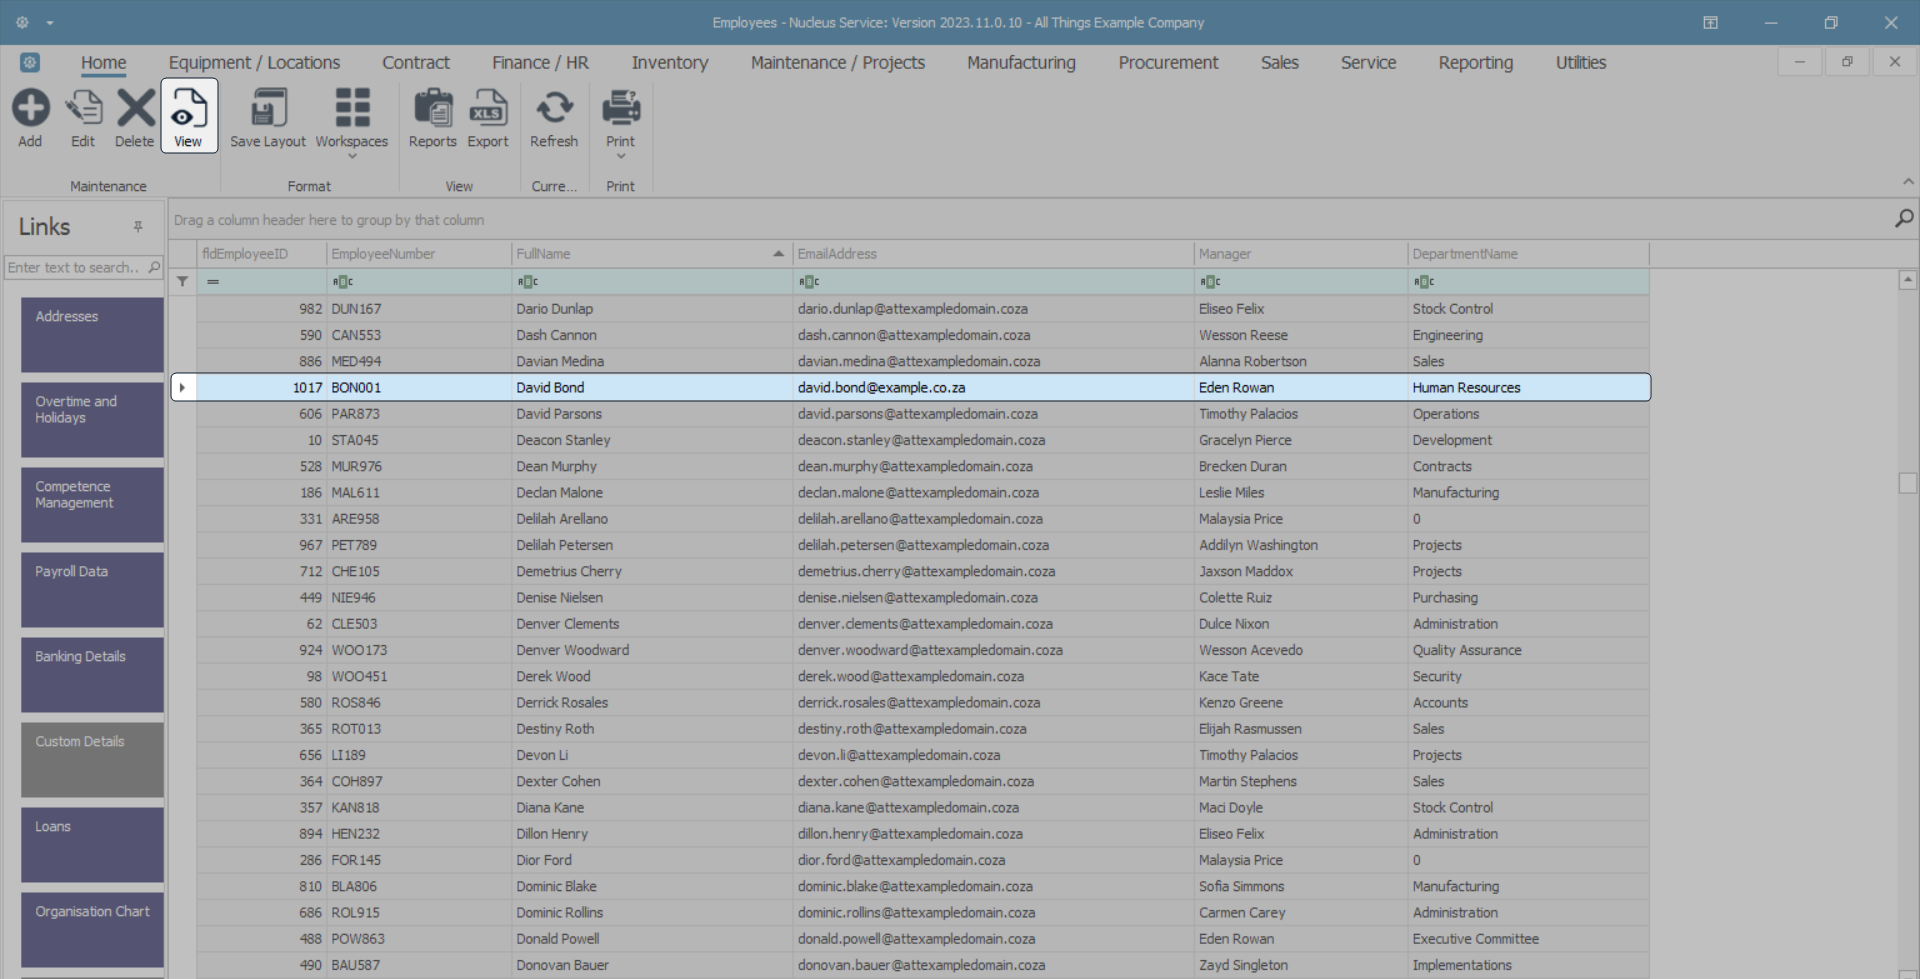
View Full Employee Details
- Select the row of the employee you wish to view in more detail.
- Click on View.
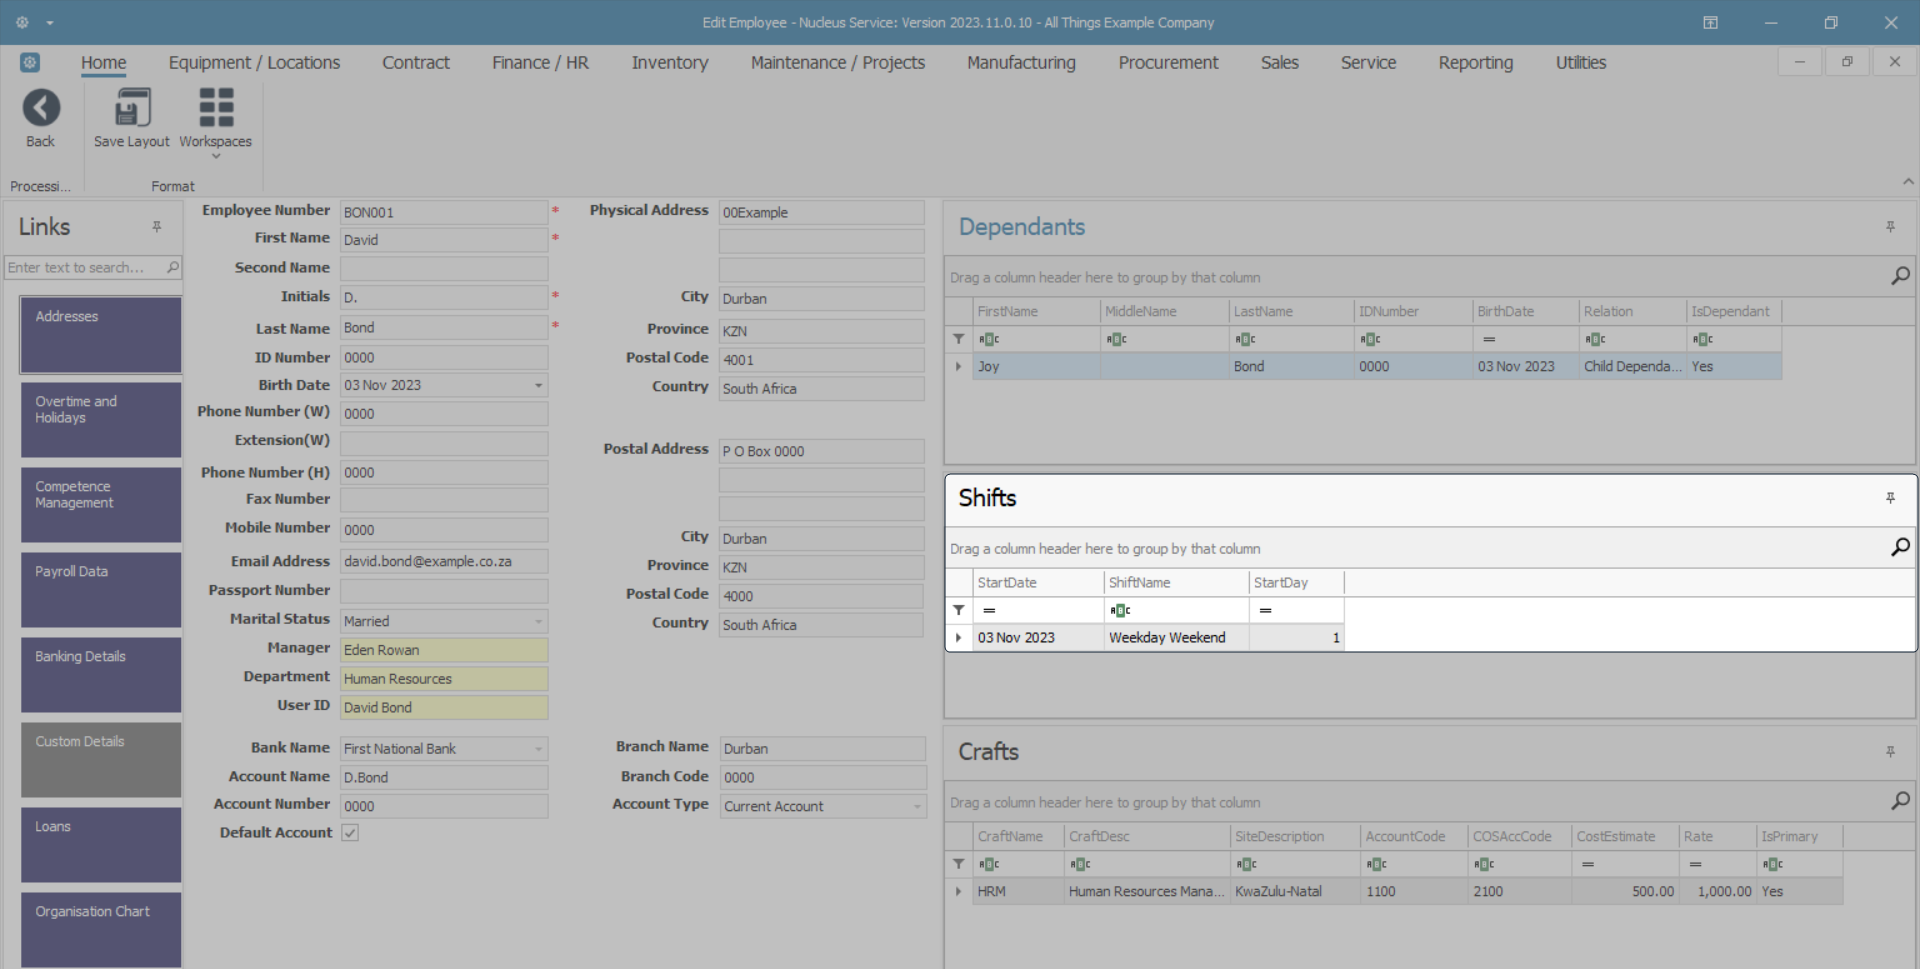
- The Edit Employee screen will open where you can view all the information that has been entered into the system for this employee.
- Although this screen title is named 'Edit Employee', this is a view only screen - you cannot make or save changes in this screen.
- The Manager, Department, and User ID fields are very important - refer to add Employee for further information.
- Click on the link within each explanation below to redirect you to a detailed handling of each docking panel.
- When you have finished viewing the selected employee, click on Back to return to the Employees listing screen.
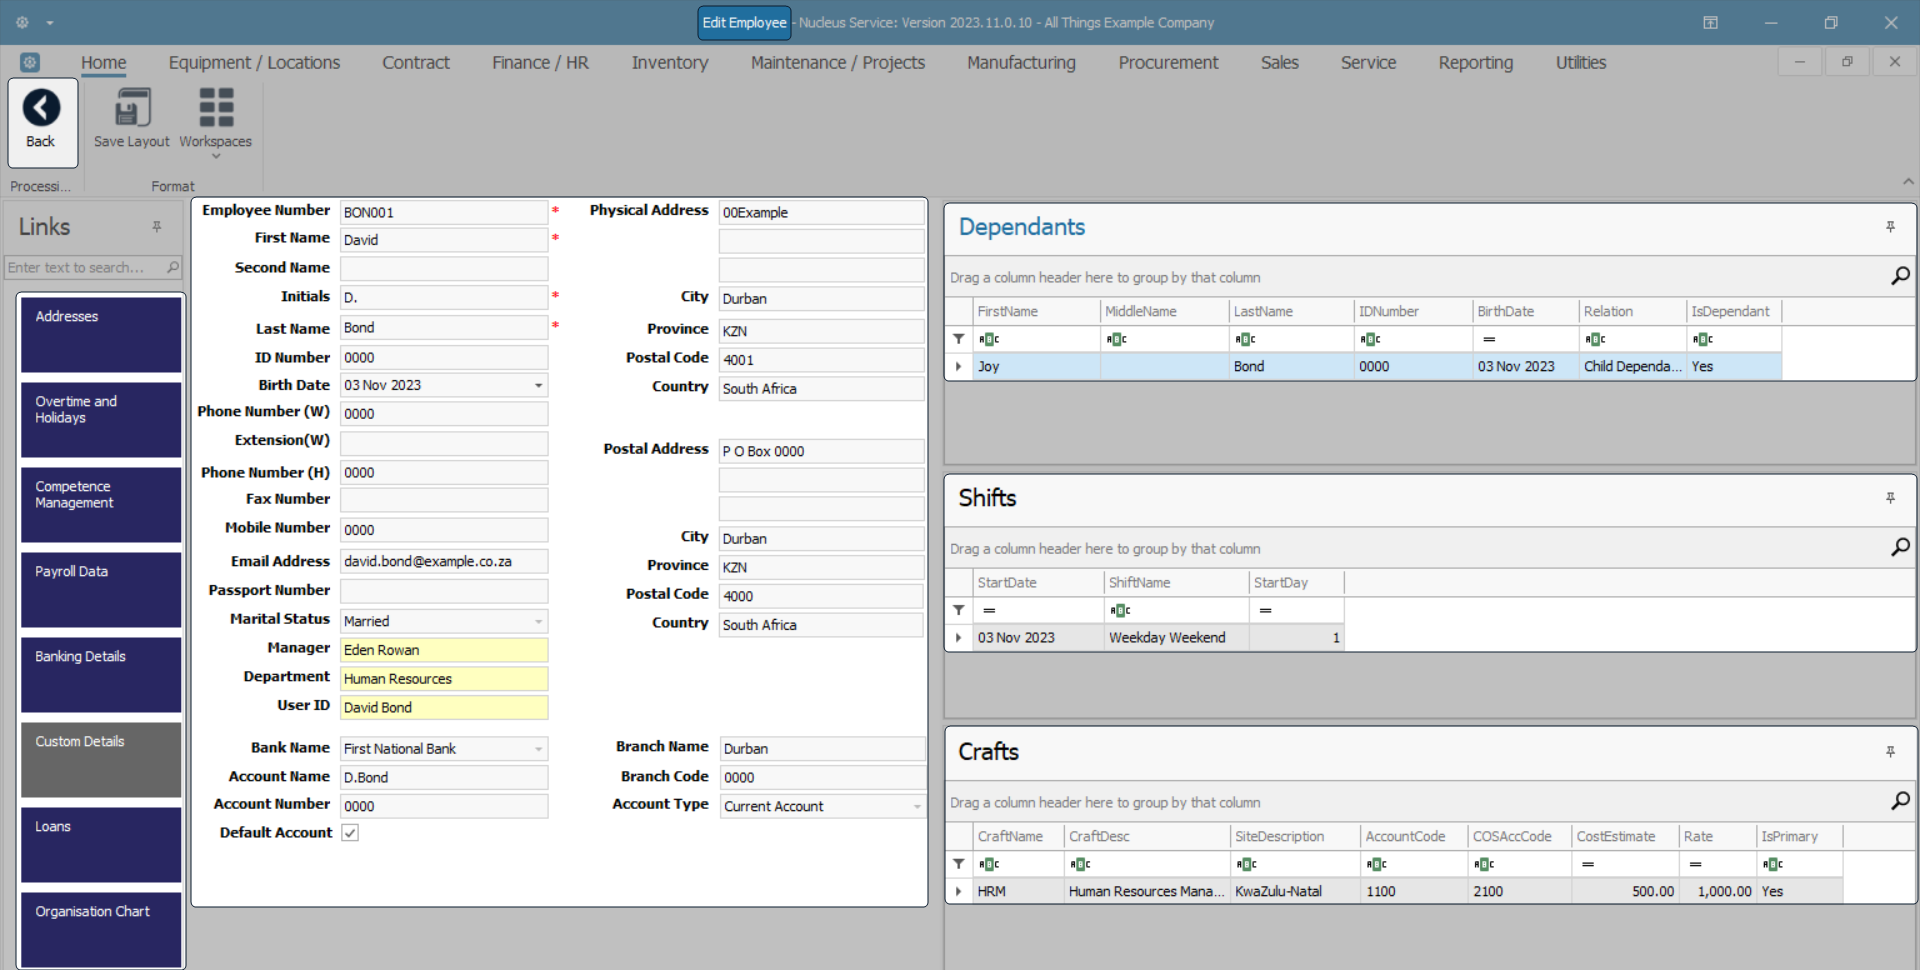
View Dependants
- On the right side of this screen, is the Dependants panel.
- Here you can view a list of any dependants (child or adult) who rely on the employee for financial support.
- For more information, refer to Dependants.
View Shifts
- On the right side of this screen, is the Shifts panel.
- Here you can view a list of the shift assignments linked to the employee.
- For more information, refer to Shifts.
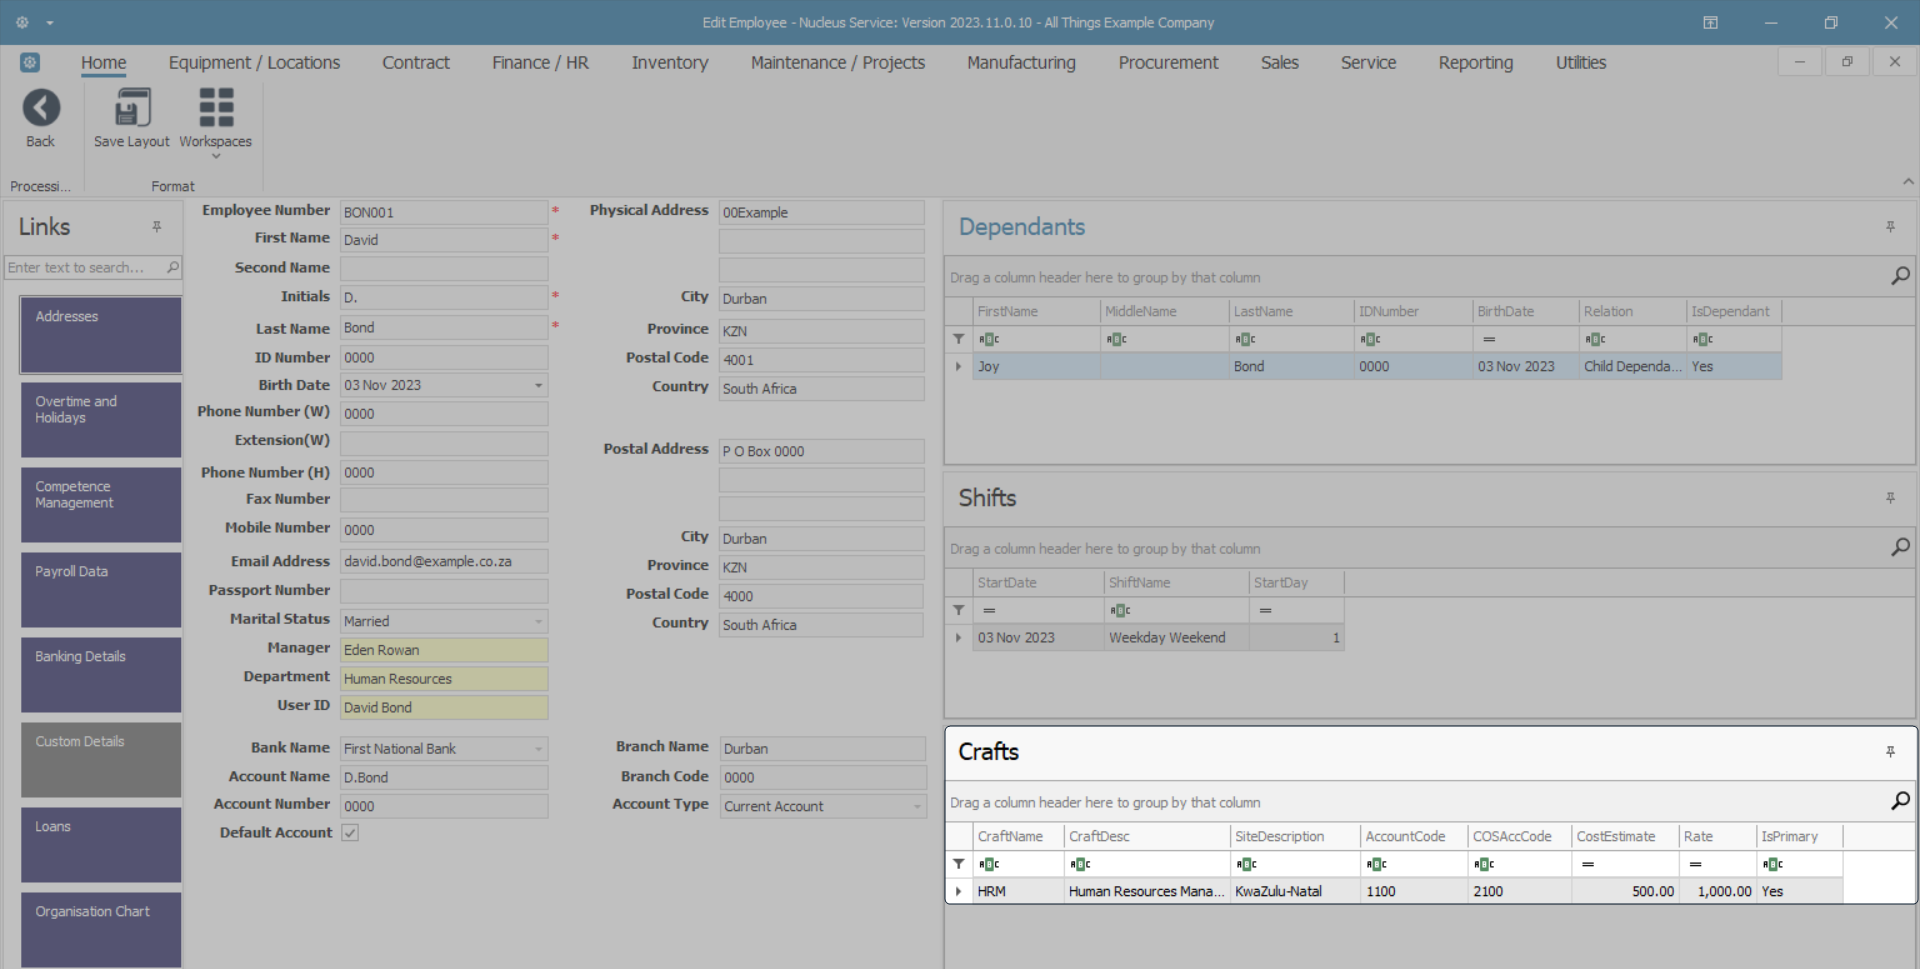
View Crafts
- On the right side of this screen, is the Crafts panel.
- Here you can view a list of all the crafts linked to the employee.
- For more information, refer to Crafts.
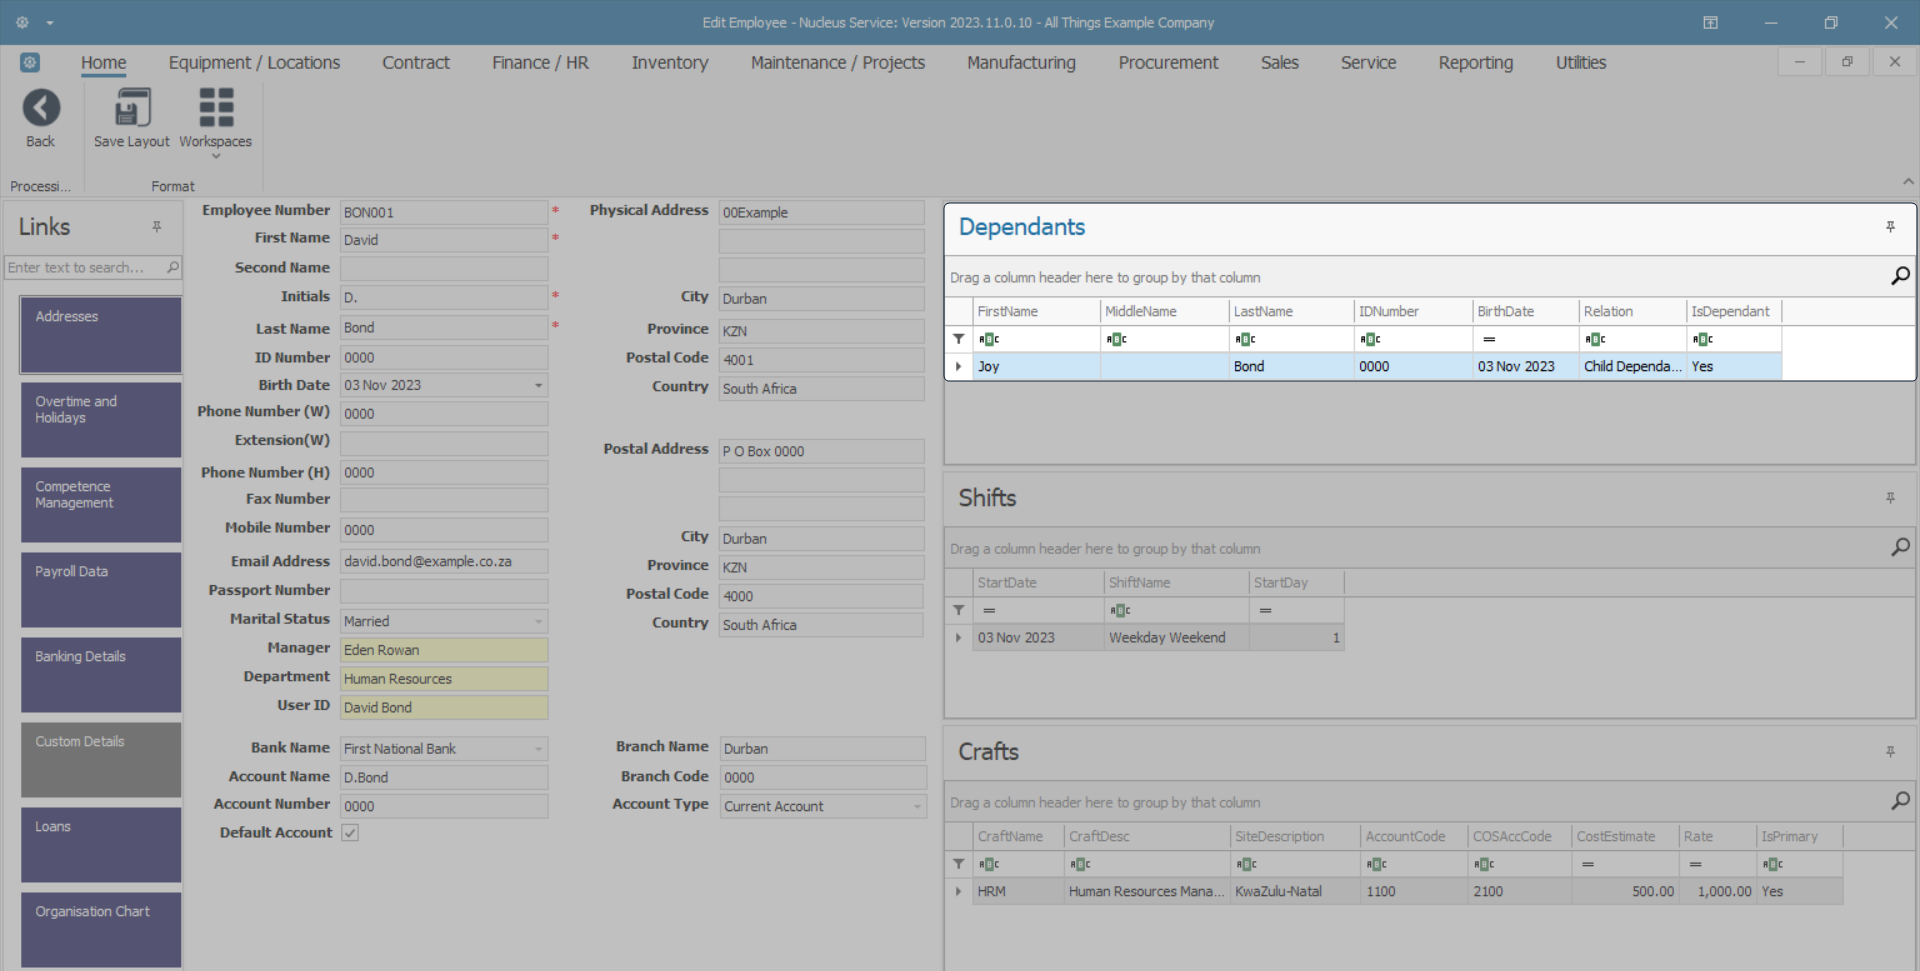
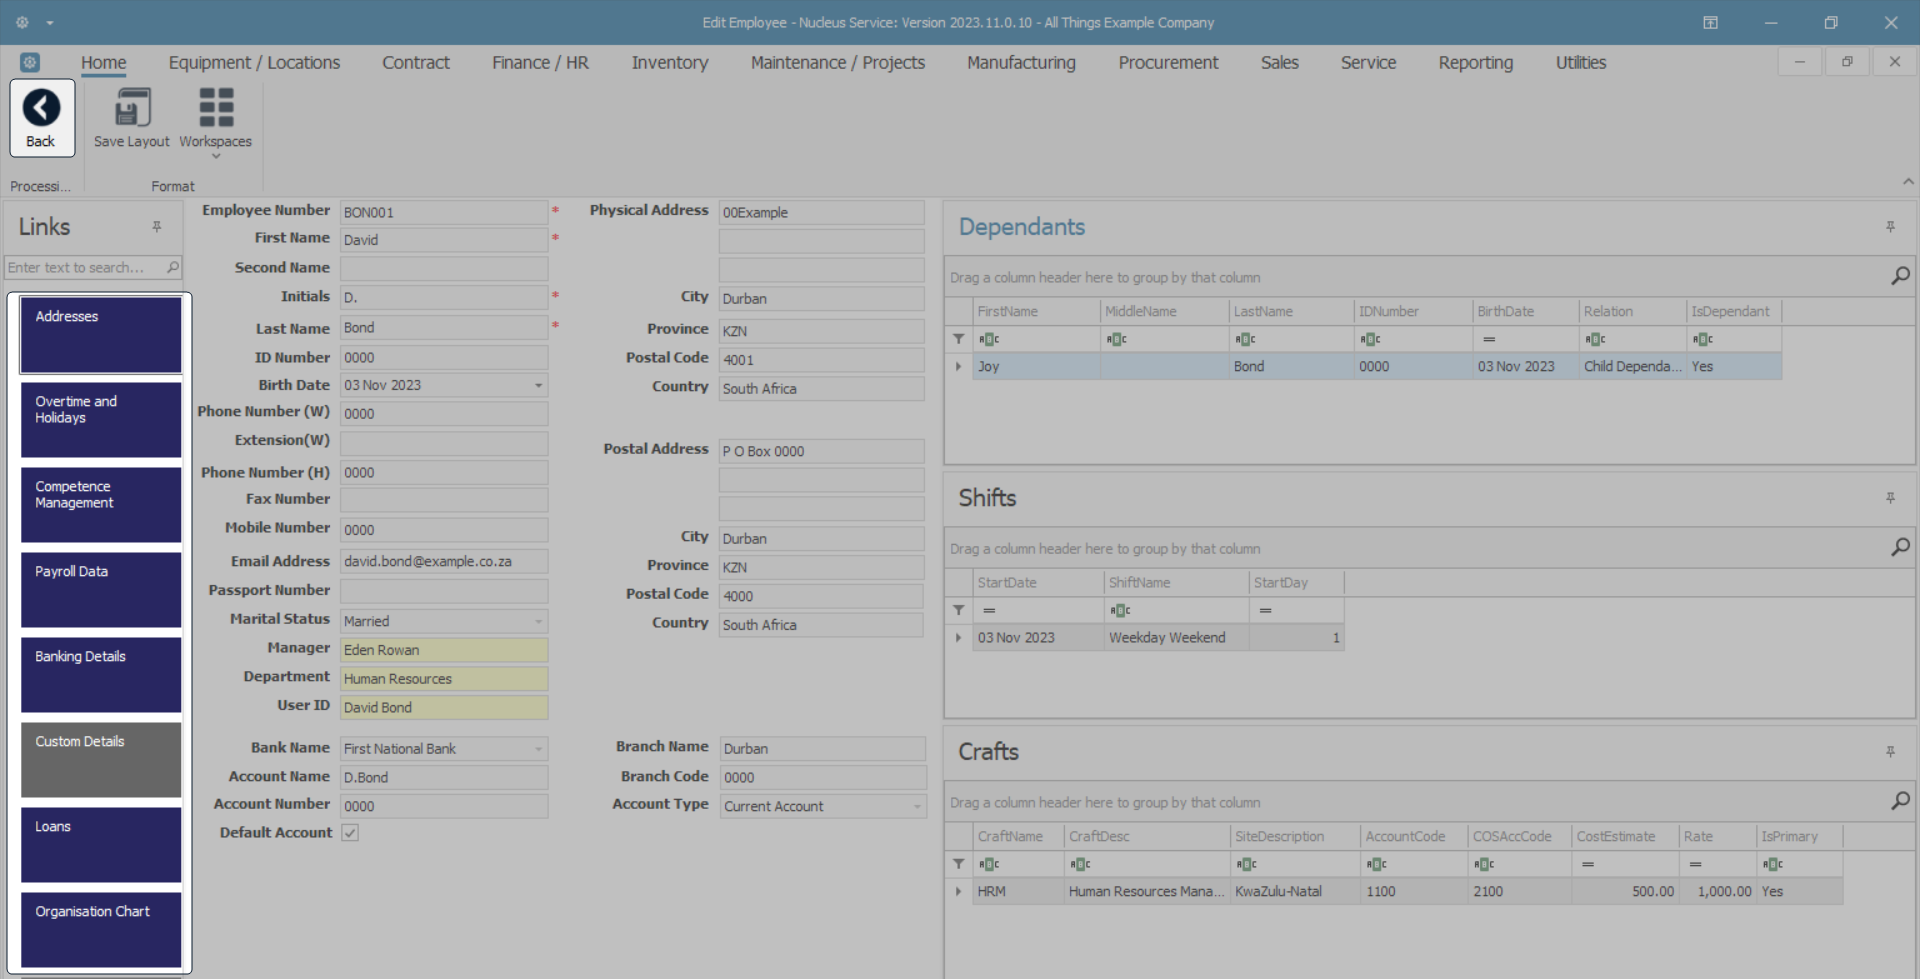
Function Tiles - Links Panel
- On the left side of the View Employee screen is the Links panel. This panel contains the employee function tiles.
- Each function tile, when clicked on, will take you to further information concerning the selected employee.
- Note 1: These tiles are also available in the Employees listing screen, the Add new employee screen and the Edit Employee screen.
- Note 2: When you are working from the Employees listing screen, ensure that you have selected the correct employee before you click on any tile.
Clicking on the link within each tile explanation below, will redirect you to a detailed handling of that particular topic.
- Addresses: This tile will direct you to the Address List for: [ ] screen where you can view, add, edit and delete addresses linked to the selected employee.
- Overtime and Holidays: This tile will direct you to the Availability Exceptions for: [ ] screen where you can view, add, edit and delete availability exceptions for the selected employee.
- Competence Management: This tile will direct you to the Employee Training Courses for: [ ] screen where you can view, add, edit and delete training courses and qualifications linked to the selected employee.
- Payroll Data: This tile will direct you to the Payroll Data for: [ ] screen where you can view, add and edit payroll details for the selected employee.
- Banking Details: This tile will direct you to the Banking Details for: [ ] screen where you can view, add, edit and delete banking details for the selected employee.
- Custom Details: This tile will direct you to the Custom Details for: [ ] screen where you can view, add, edit and delete custom details linked to the selected employee.
- Loans: This tile will direct you to the Loans for: [ ] screen where you can view loan and repayment information linked to the selected employee.
- Organisation Chart: This tile will direct you to the Organisational Chart screen which gives you a visual representation of the company's reporting relationships in a hierarchical structure.
- Documents: This tile will direct you to the Documents for Employee - [ ] screen where you can add, edit, delete and view digital documents linked to the selected employee.
- Click on Back to return to the Employees listing screen.
MNU.021.024