We are currently updating our site; thank you for your patience.
Locations
Technical Specifications (Custom User Defined Fields)
The inclusion of User Defined Fields is to provide more information within the Asset, Contract, Customer and Location modules so that associated work/processes can be carried out more efficiently. It will serve as connective tissue between contracts and call center functions to improve call center performance by having readily accessible information.
| Ribbon Access: Equipment / Locations > Functional Locations |

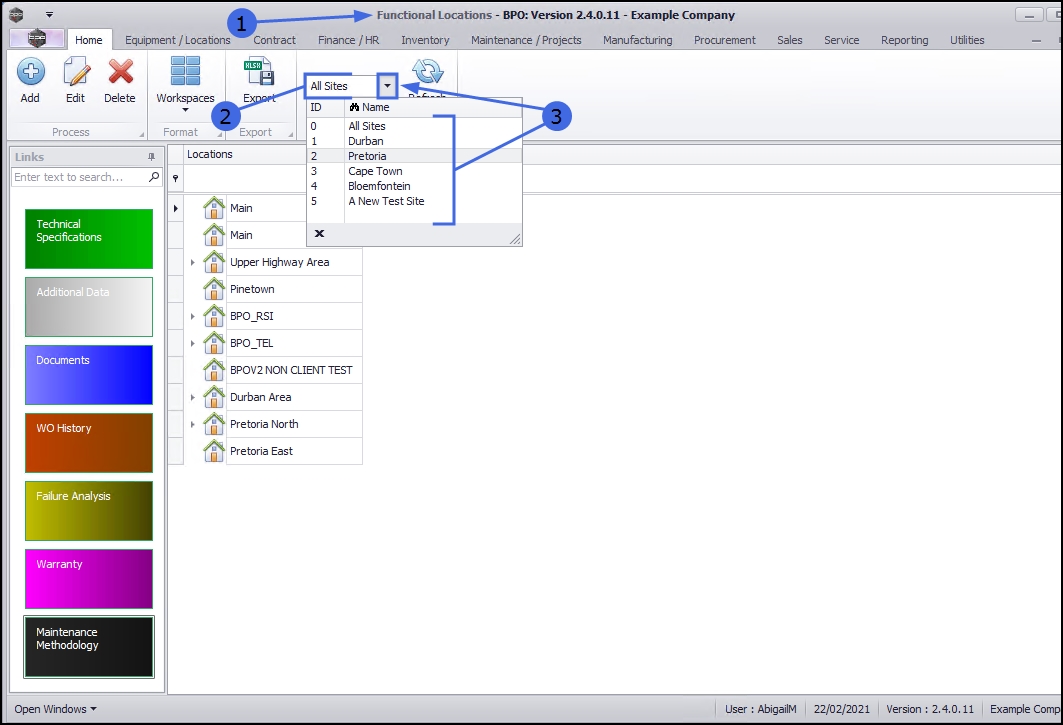
- The Functional Locations screen will be displayed.
Select the Site
- This screen will open by default with the Sites filter set to All Sites.
- You do not need to select a specific site, however if you wish to narrow your filter parameters, you can click on the drop-down arrow and select a particular site from the list.
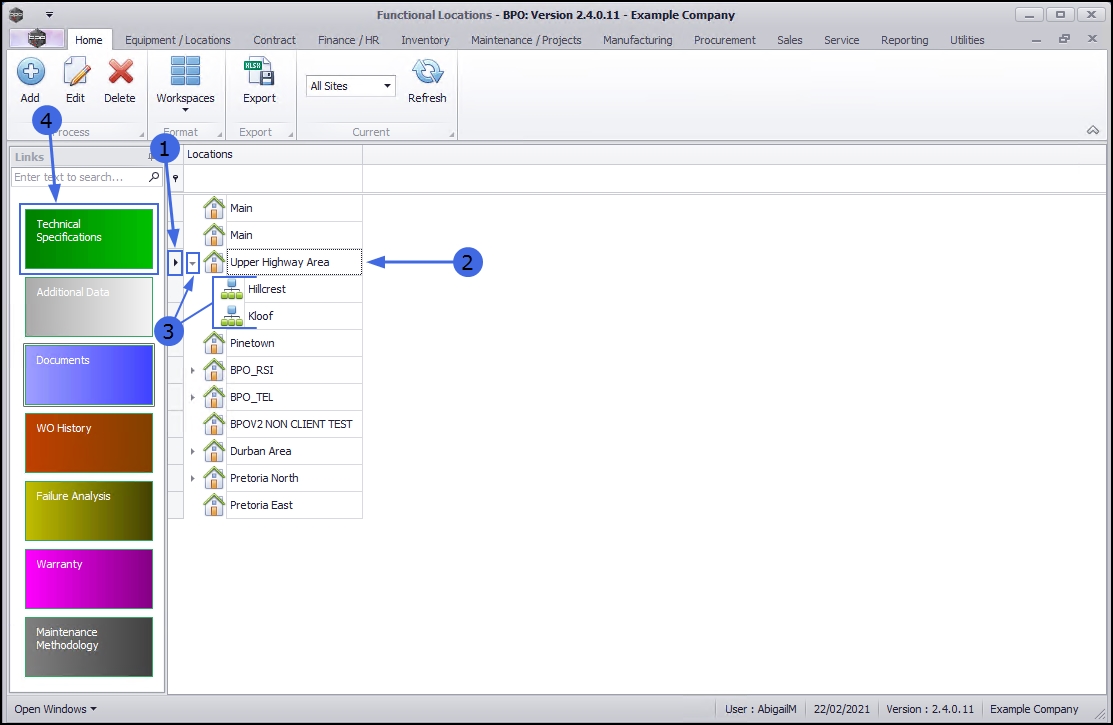
Select the Location
- Select the row of the location where you wish to view the Technical Specifications.
Main Location
- If you wish to view the Technical Specifications of a main location, select the row of that main location. In this example Upper Highway Area is a main location.
Sub-location
- If you wish to view the Technical Specifications for a sub-location, ensure that you expand the main (parent) location to be able to view and select the row of that sub-location. In this example, Hillcrest and Kloof are sub-locations of Upper Highway Area.
View Technical Specifications
- When you have selected the right location, click on the Technical Specifications tile.
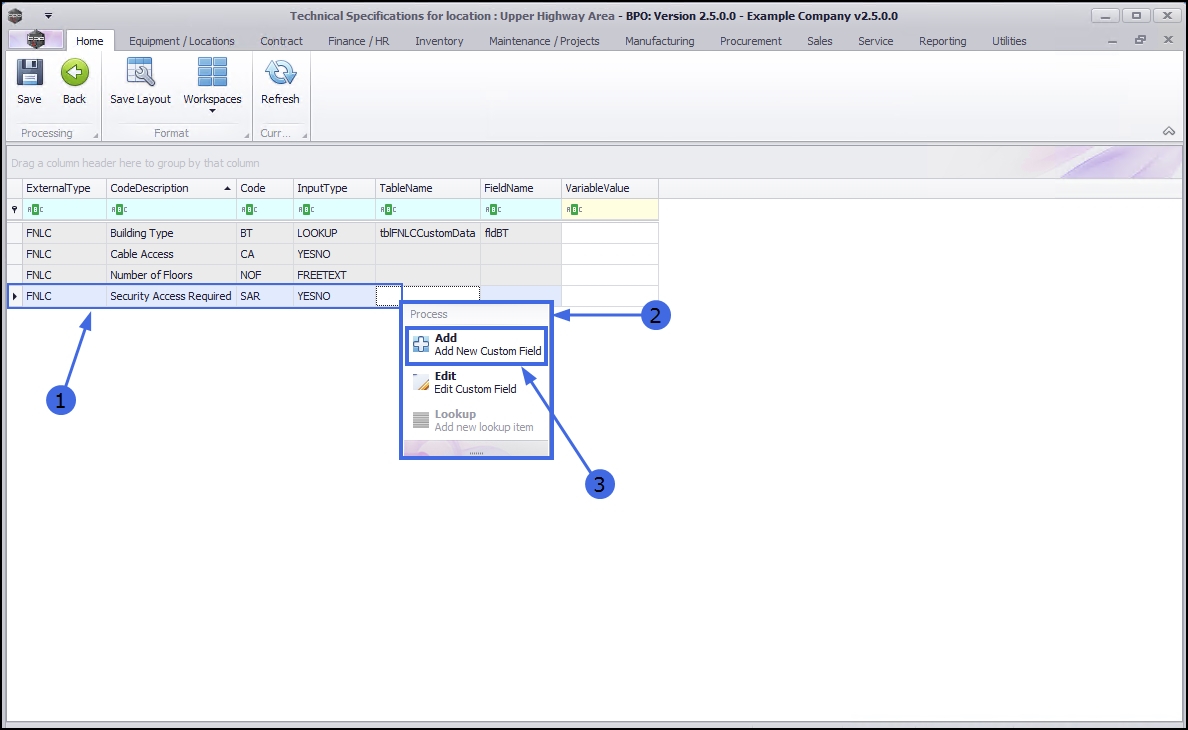
- The Technical Specifications for location: [] screen will open.
- Here you can view a list of Technical Specifications currently on the system.
- There is no Add or Edit processing button as this screen utilises the right click functionality.

Add New Specification
- Right click in any row.
- A Process menu will pop up.
- Click on Add - Add New Custom Field.
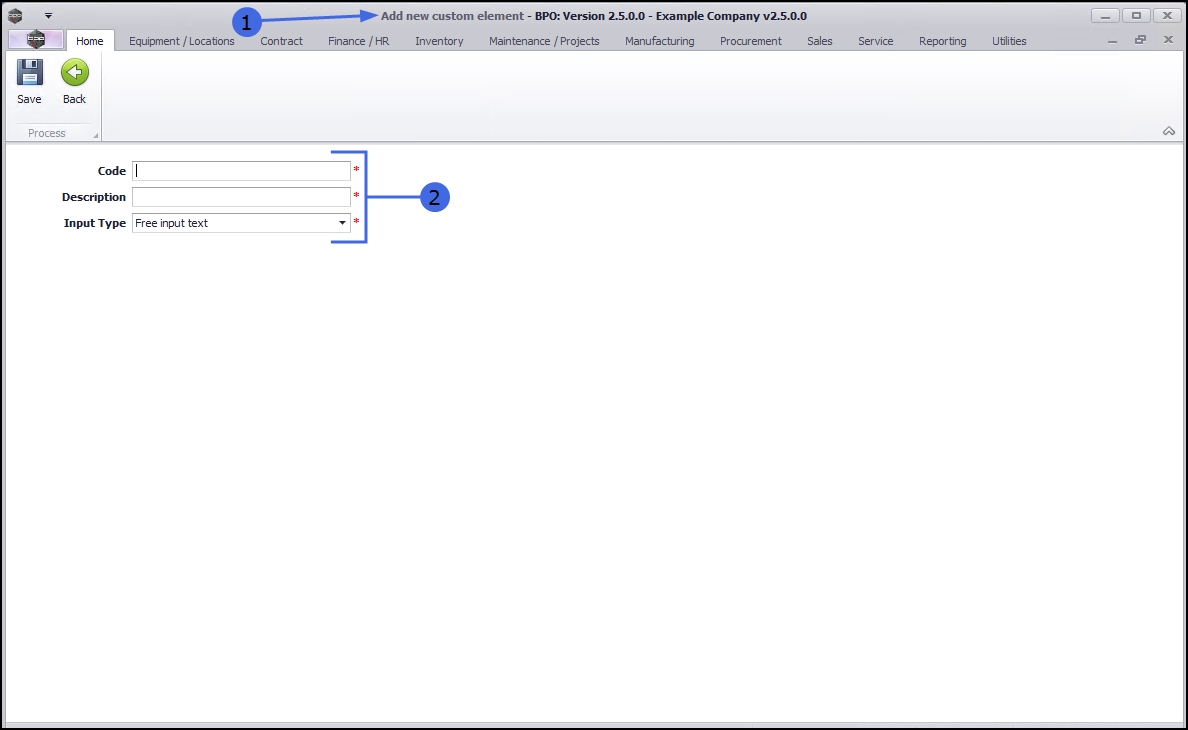
- The Add new custom element screen will open.
Add New Specification Details
New User Defined Customer Fields can be created from here. Any User Defined field created will be available for update on all suppliers.
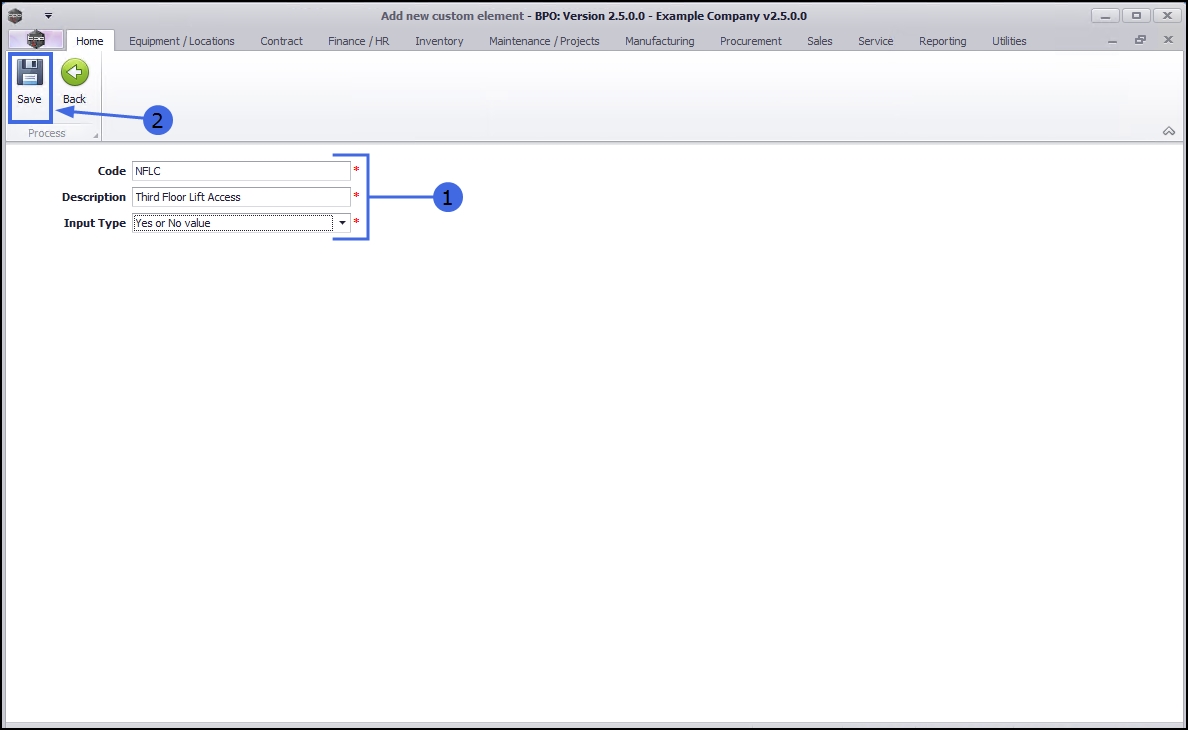
- Add the technical specification details:
- Code: Type in a specific code for this new custom element.
- Description: Type in a description for the code in the previous field e.g. number of floors, cable access.
- Input Type: Type in the input type for this element e.g. Free input text, Lookup list, Yes or No value.
Save New Specification
- When you have added the new technical specification details,
- Click on Save.
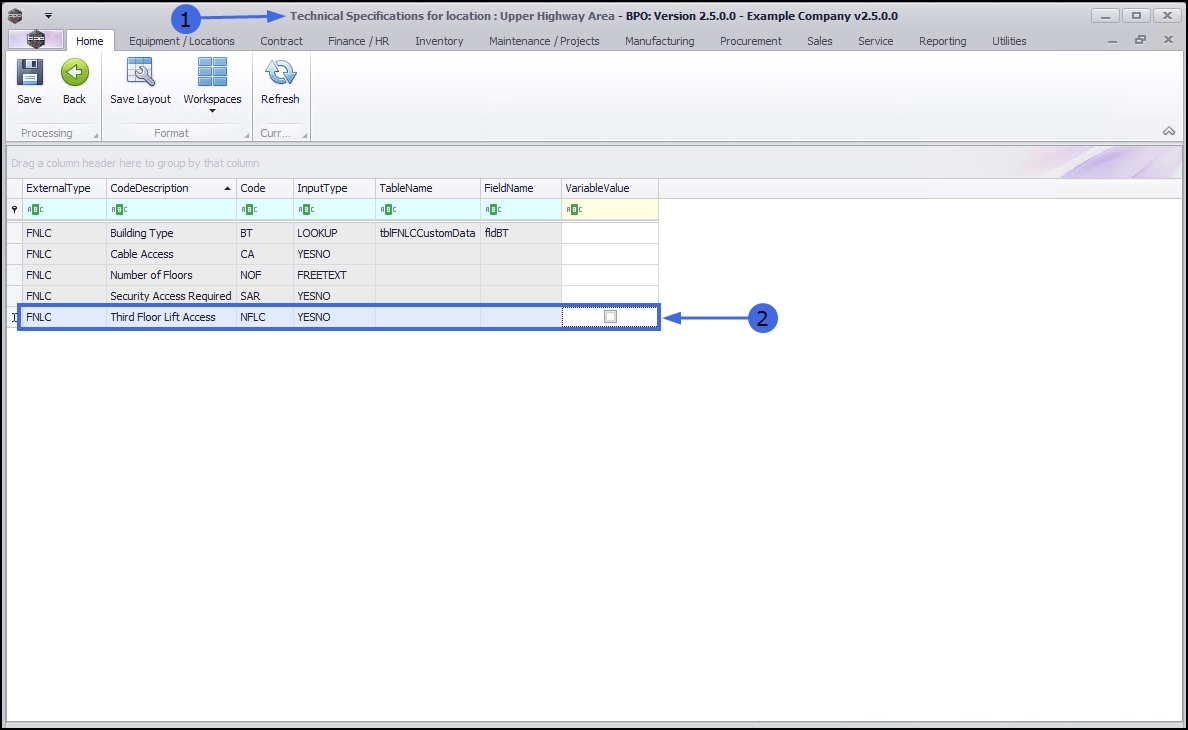
View New Specification
- You will return to the Technical Specifications for location: [ ] screen.
- The new specification is added to the data grid.
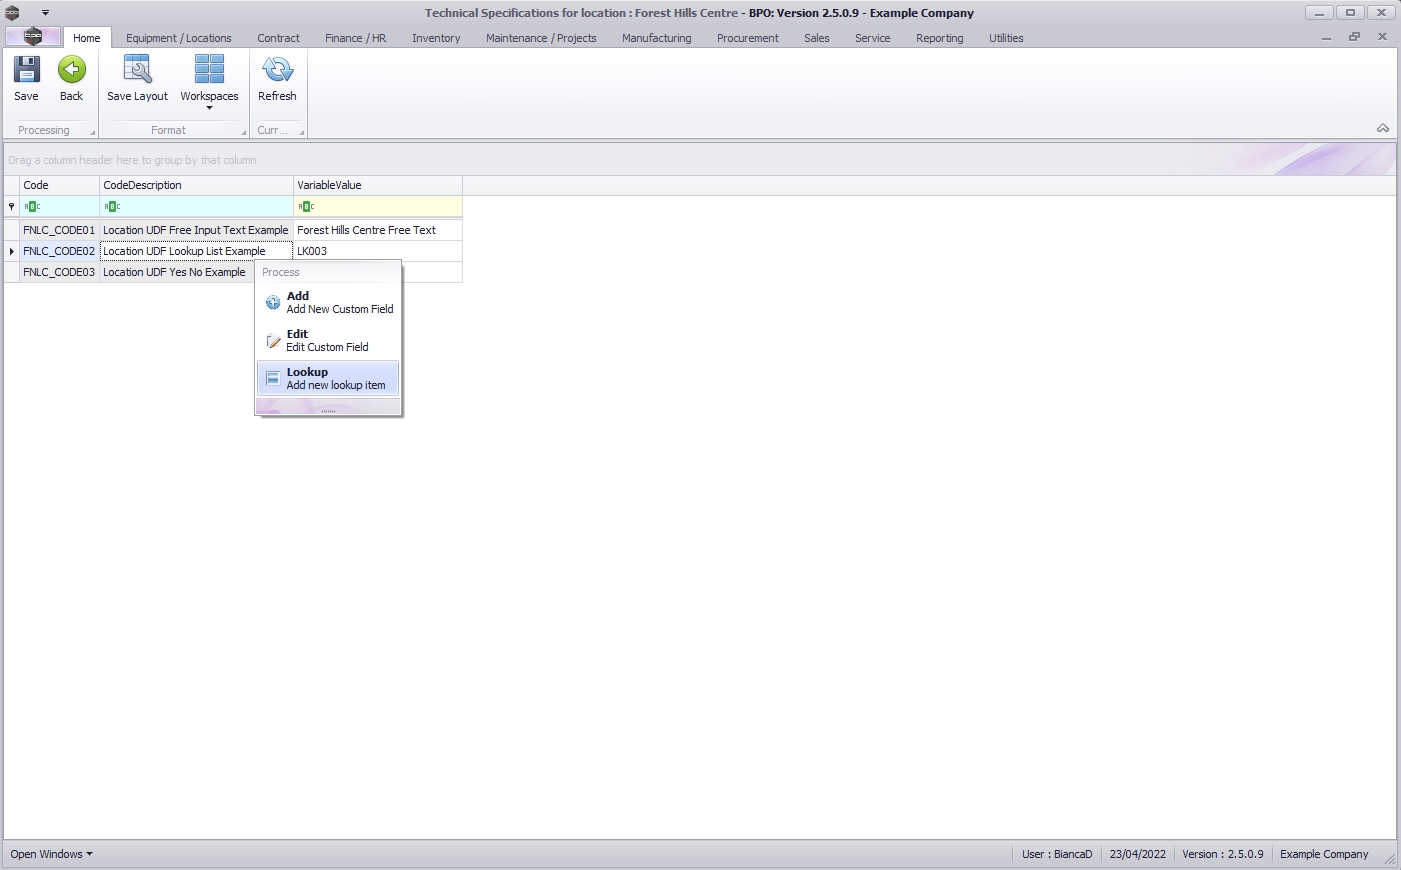
Add Lookup Items
For Lookup Input Variables - the right click context menu includes the option to add items to the Lookup List.
- Right click on Lookup input type Custom Field and select Add new lookup item (you may need to scroll down).
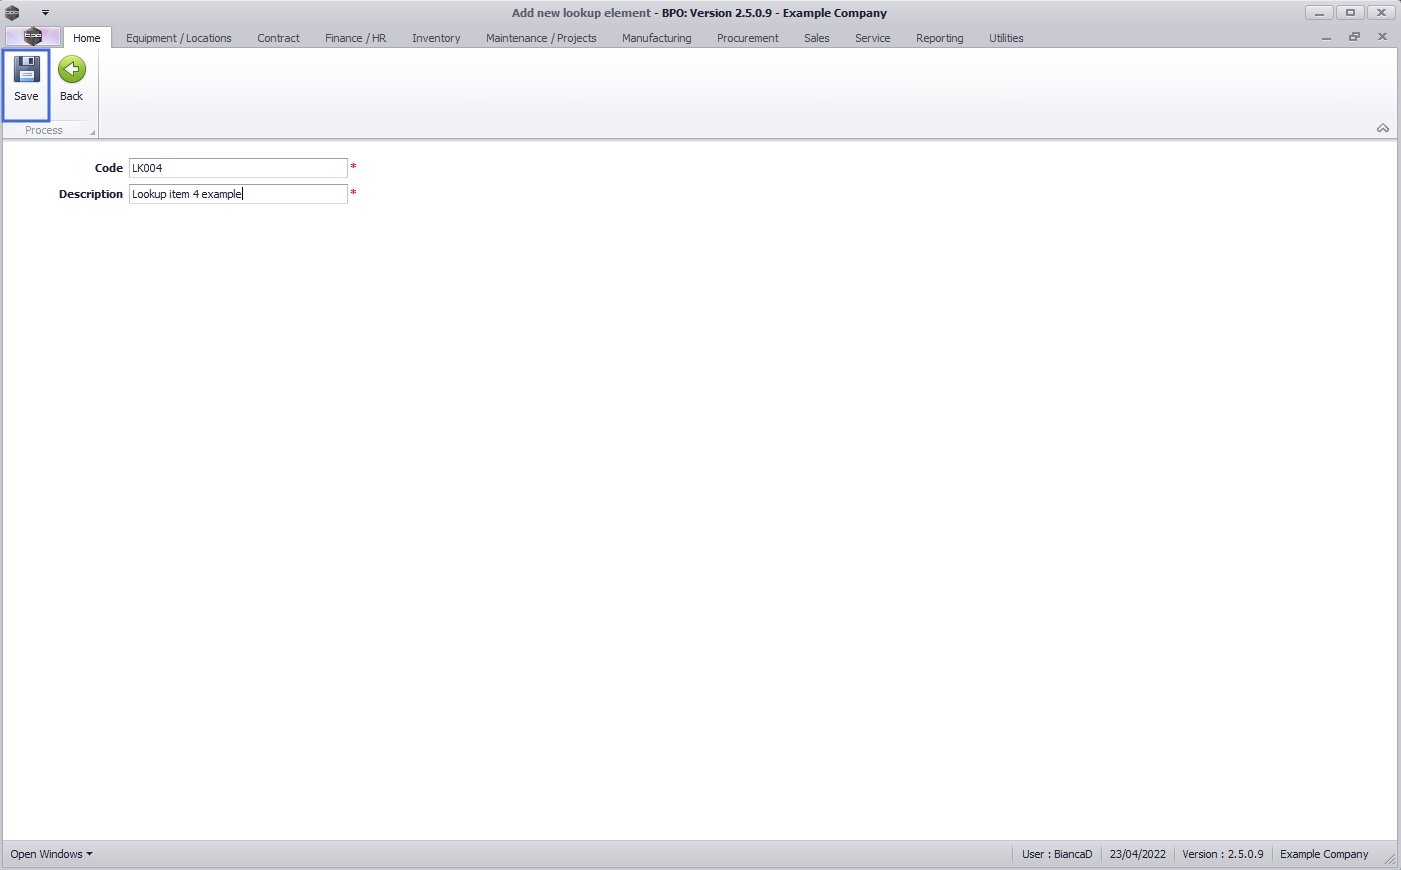
- Type in the lookup item Code and Description.
- Click on the Save button.
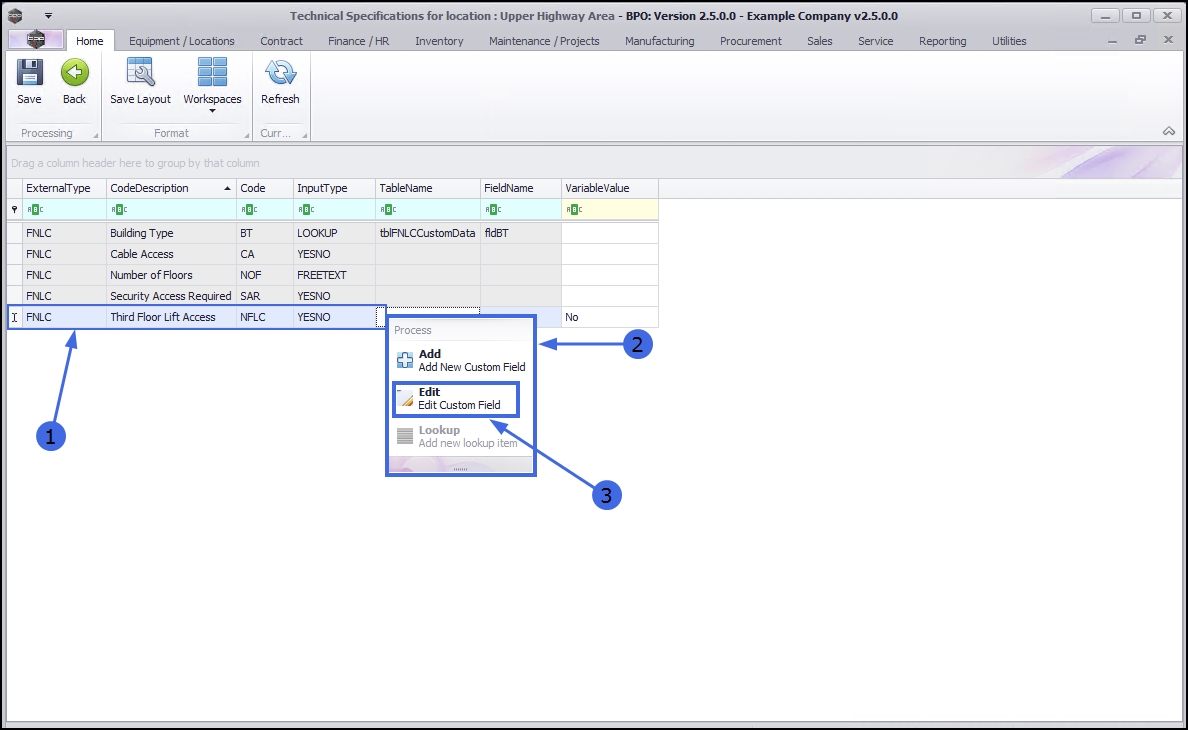
Edit Specification
Select Specification
- Right click in the row of the Technical Specification where you wish to make changes.
- The Process menu will pop up.
- Click on Edit - Edit Custom Field.
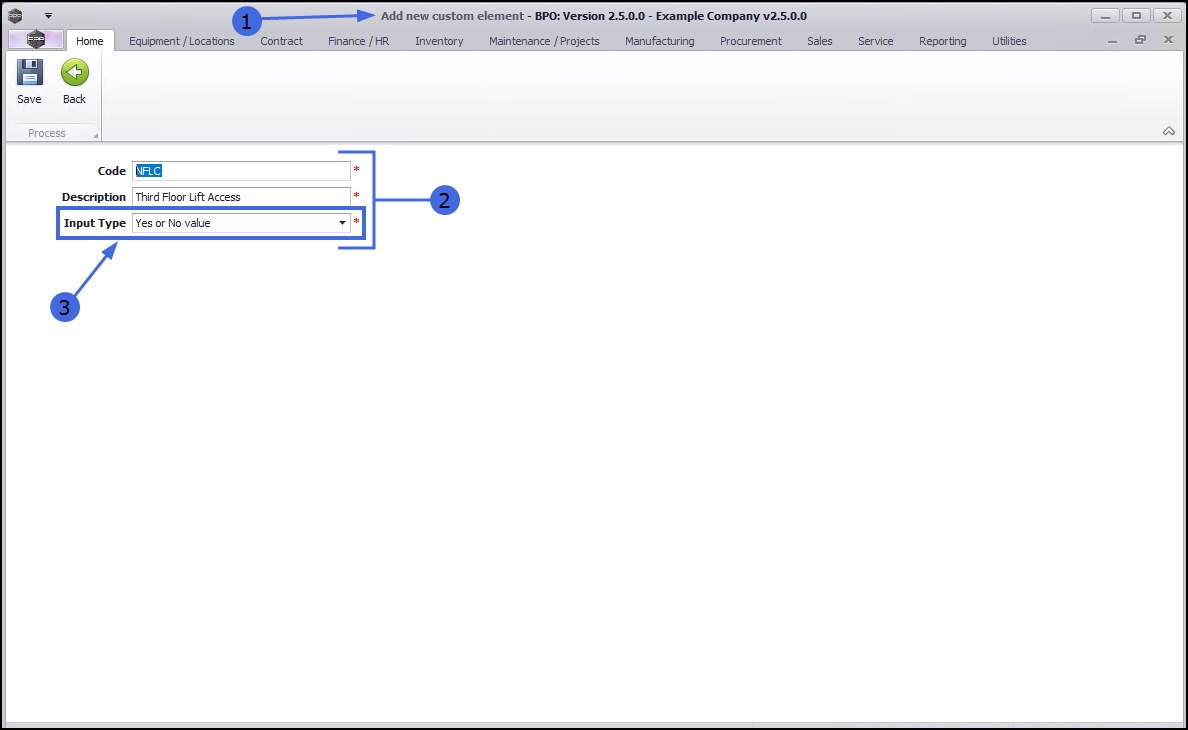
Edit Specification Details
- The Add new custom element screen will open.
- The details of the specification selected in the previous screen will populate the fields.
- Make the changes to the detail as required.
- In this example the Input Type is to be edited.
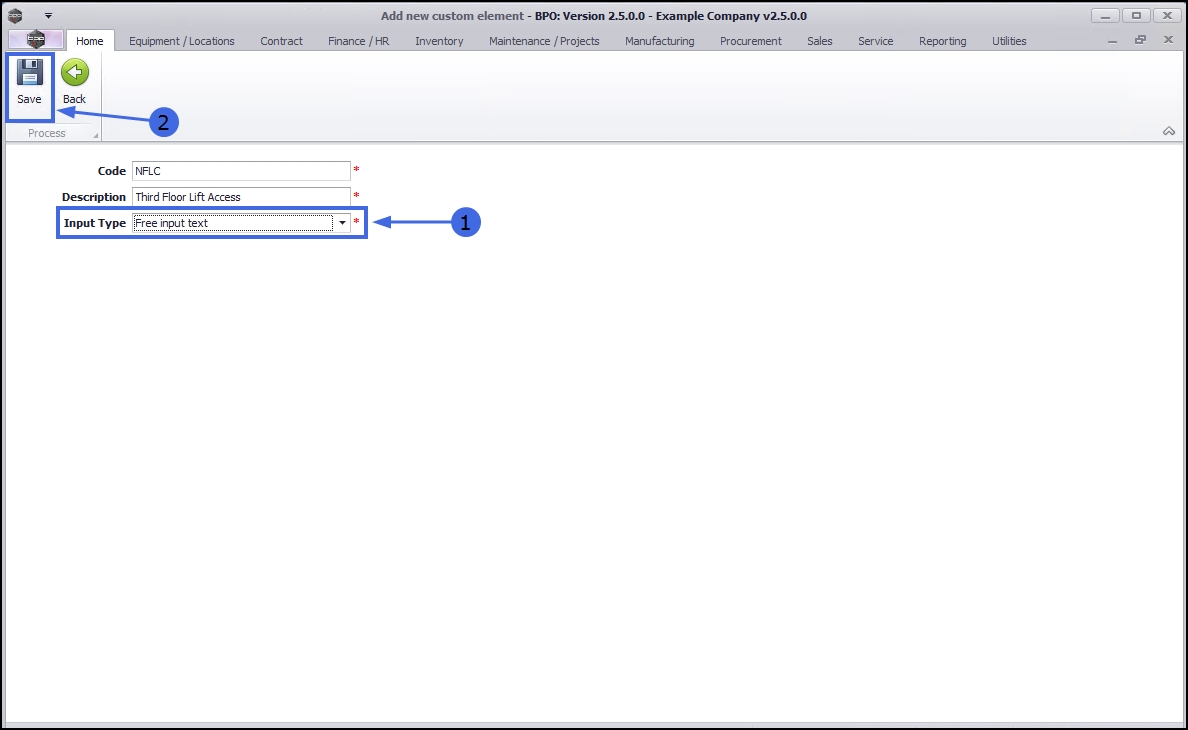
Save Specification Changes
- When you have finished edited the custom element details;
- In this example, the Input Type has been changed to Free input text.
- Click on Save.
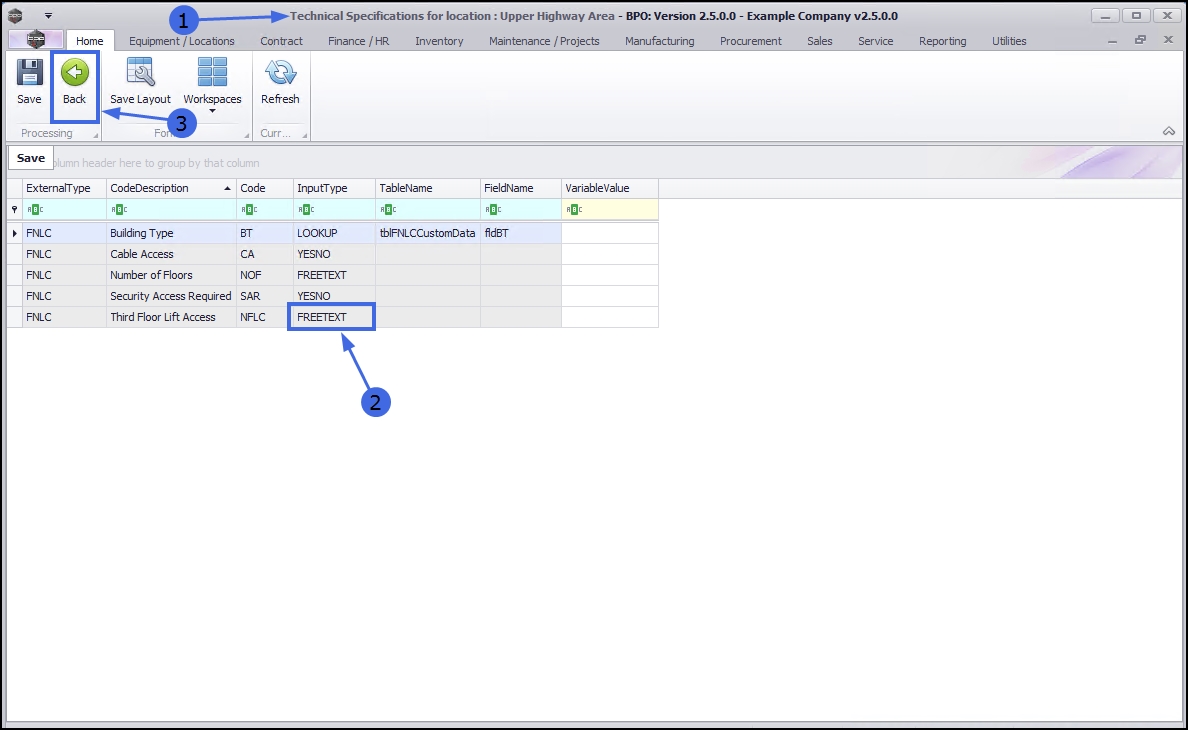
View Specification Changes
- You will return to the Technical Specifications for location screen.
- The data grid will be updated with the edits made in the previous screen
- In this example, the Input Type column now displays FREETEXT.
- Click on Back to return to the Functional Locations screen.
This topic is currently being updated. Thank you for your patience, please check back soon.
![]()
MNU.001.007