We are currently updating our site; thank you for your patience.
Locations
Functional Locations - Documents
The Documents tile allows you to Add, Edit, Delete and View digital documents linked to a selected location. For example, a Site Plan document. All your location documents can be kept in one place by making use of this link.
The document should be saved on the server to enable all users with the relevant security rights to view the document. If saved and linked from the workstation, another workstation cannot view the document.
| Ribbon Access: Equipment / Locations > Functional Locations |

- The Functional Locations screen will be displayed.
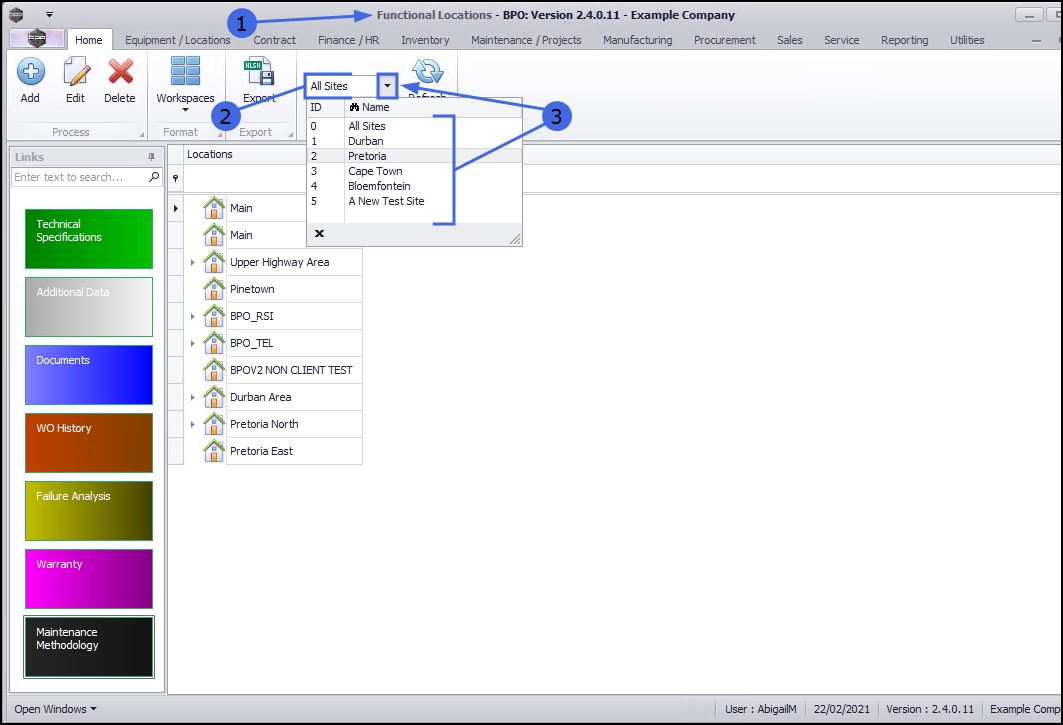
Select the Site
- The Site filter will be set according to your company configuration.
- You do not need to select a specific site, however if you wish to narrow your filter parameters, you can click on the drop-down arrow and select a particular site from the list.
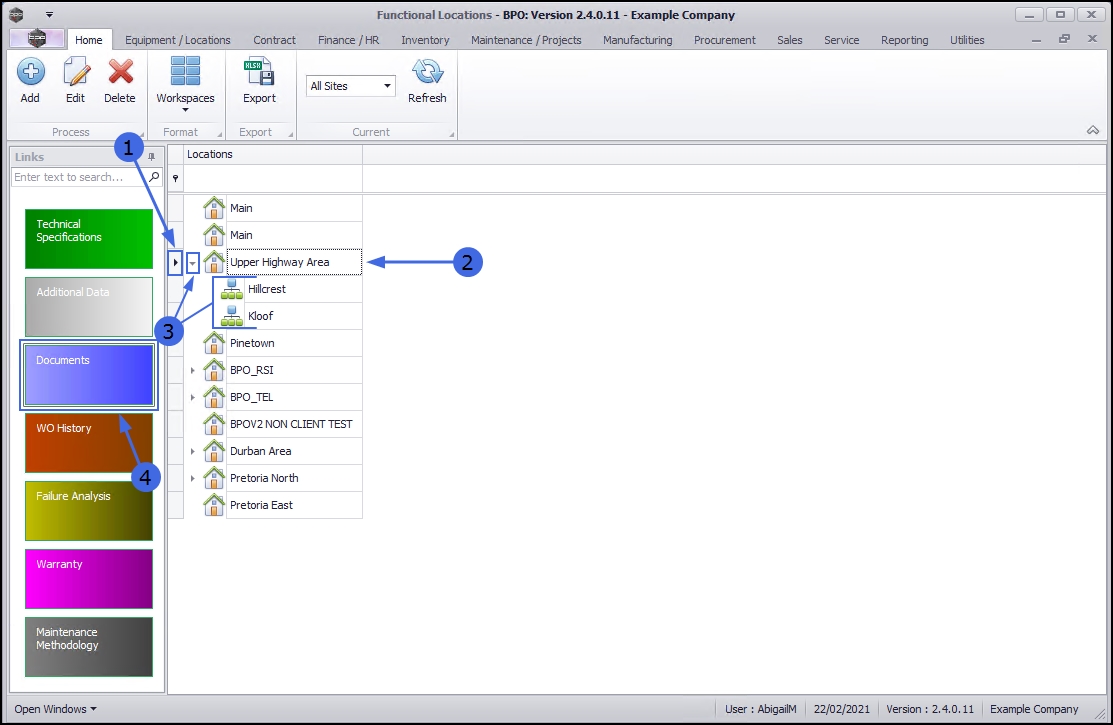
Select the Location
- Select the row of the location where you wish to link Digital Documents.
Main Location
- If the documents are to be linked to a main location, select the row of that main location. In this example Upper Highway Area is a main location.
Sub-location
- If the document is to be linked to a sub-location, ensure that you expand the main (parent) location to be able to view and select the row of that sub-location. In this example, Hillcrest and Kloof are sub-locations of Upper Highway Area.
- When you have selected the right location, click on the Documents tile.
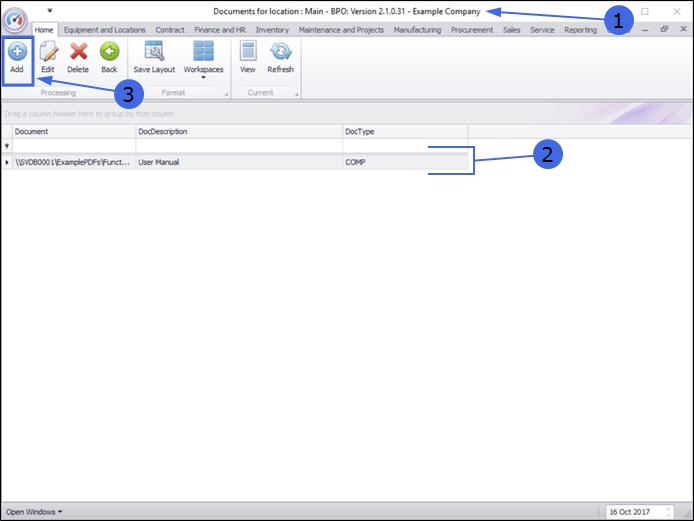
- The Documents for location: [] screen will open.
- If there are any documents currently linked to the selected location, they will be listed here.
Add Location Document
- Click on Add.
Find File
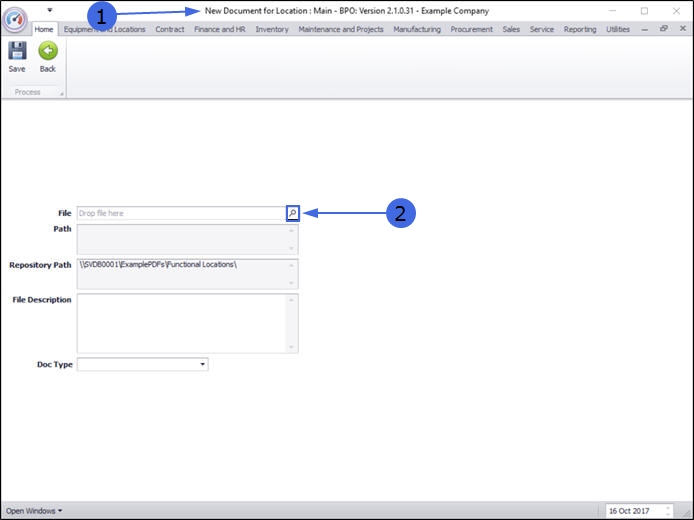
- The New Document for Location: [ ] screen will open.
- Click on the search button in the File field and search for the digital document you wish to link.
- Note: The document should be saved on the server to enable all users with the relevant security rights to view the document. If saved and linked from the workstation, another workstation cannot view the document.
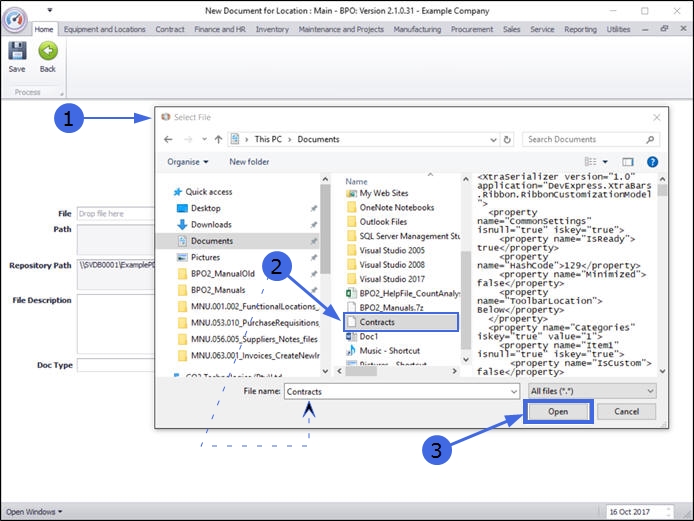
Select File
- From the Select File pop up screen,
-
Find the file on your server / computer that you wish to link.
- Ensure that the document name appear in the File name: field by clicking on the document to select it.
- Click on Open.
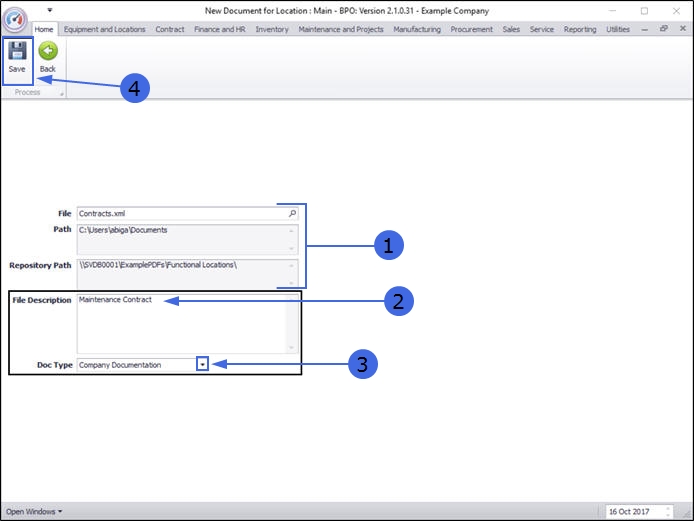
Document Details
- The File and Path and Repository Path fields will now auto populate.
- File Description: type in a description for the document you are linking.
- Click on the drop-down arrow in the Doc Type field and select a document type from the list.
Save Document
-
Click on Save
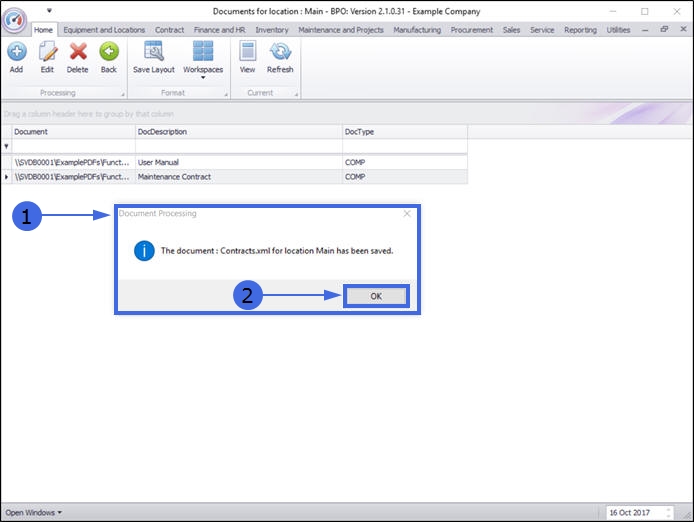
- A Document Processing message box will pop up advising the following:
- The document: [] for location [] has been saved.
- Click on OK.
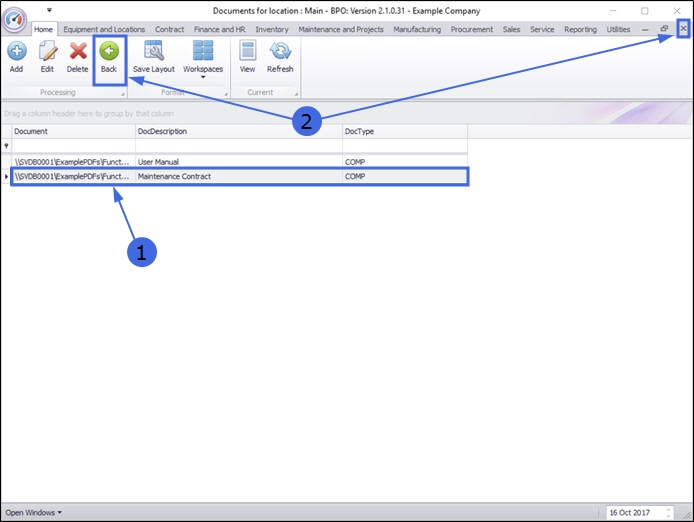
View Linked Document
- You can now view the added document in the Documents for location: [] screen.
- Click on Back or Close the screen to return to the Functional Locations screen.
MNU.001.004