We are currently updating our site; thank you for your patience.
Locations
Functional Locations - Add New 'Generic' Location
Generic Locations are set up to determine an 'in-house area' where work is performed, for example, a 'workshop'. These can also be locations that determine an area/suburb/region where a New Deal is being performed or where a contract is located.
Follow the process below to add a new generic location.
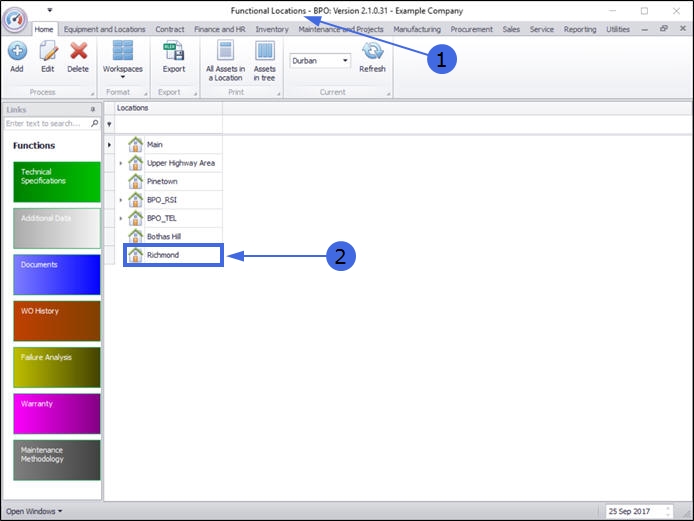
| Ribbon Access: Equipment / Locations > Functional Locations |

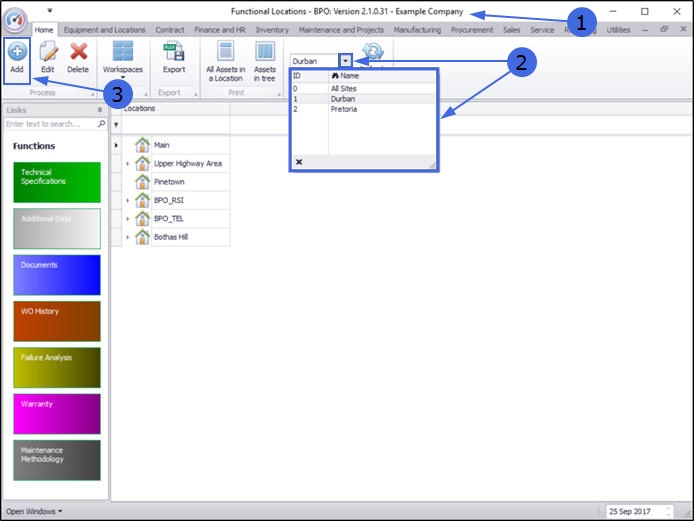
- The Functional Locations screen will be displayed.
Select the Site
- The Site filter will be set according to your company configuration. Click on the drop-down arrow and select the Site you wish to work in.
- In this image Durban has been selected.
- For a detailed handling of this topic refer to Site Selection.
- Click on Add.
Select Location Type
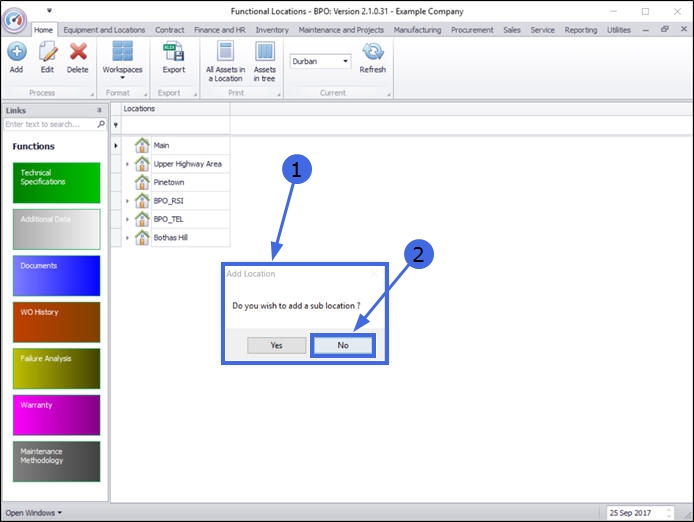
- An Add Location message box will pop up with the following prompt:
- Do you wish to add a sub-location?
- Click on No, as in this example, we wish to set up a main location not a sub-location.
Add New Functional Location
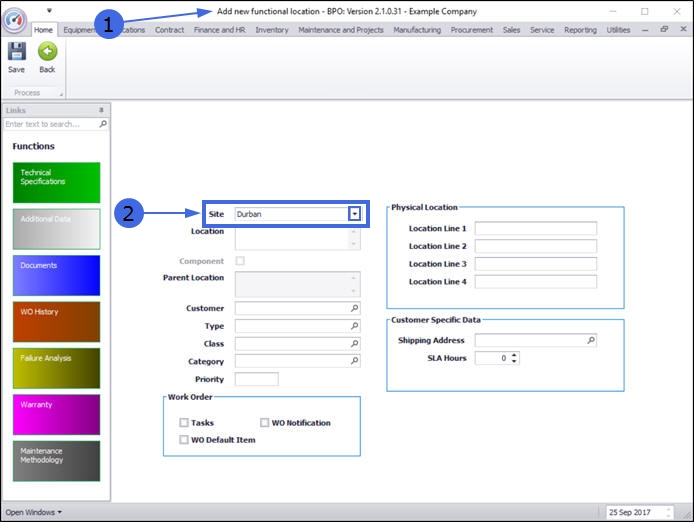
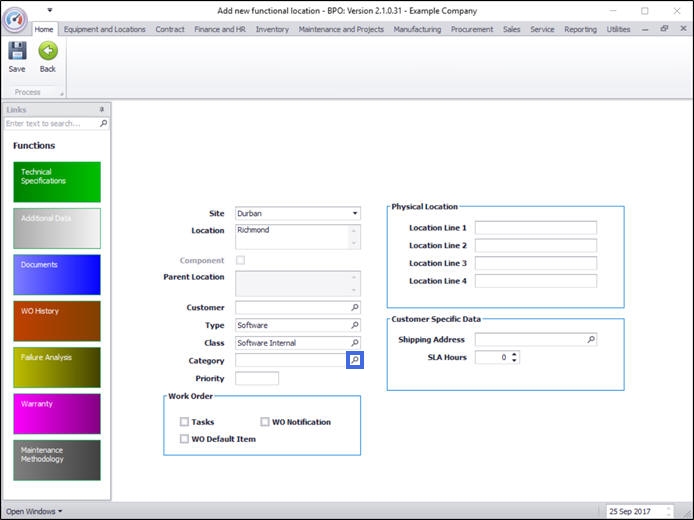
- The Add new functional location screen will open.
Link Site
- The Site field will be auto populated with your original site selection, but you can click on the drop-down arrow in the Site field and select an alternative site from the drop-down list, if required.
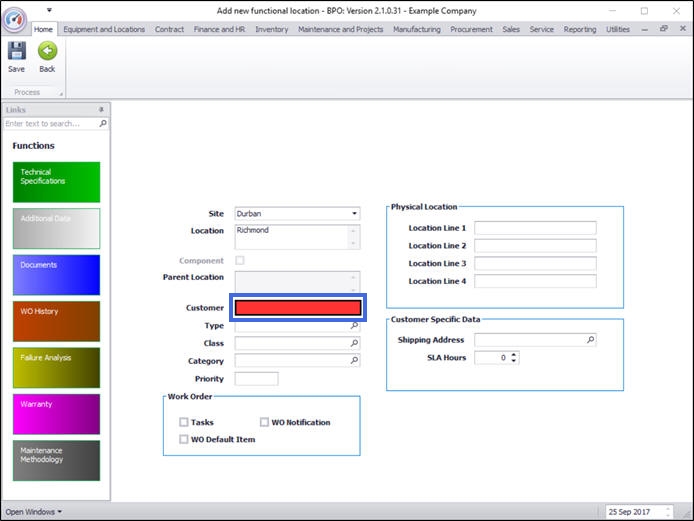
Link Location
- In the Location field, type in the location description.
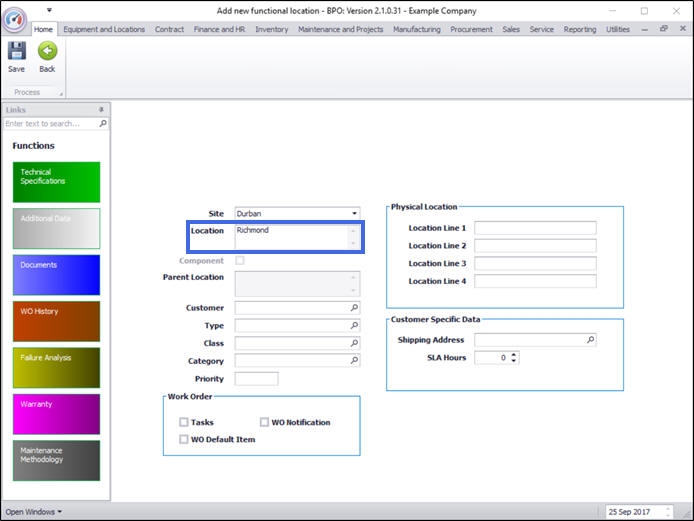
- Leave the Customer field blank as you are creating a generic location.
Select Type
- Click on the search button in the Type field.
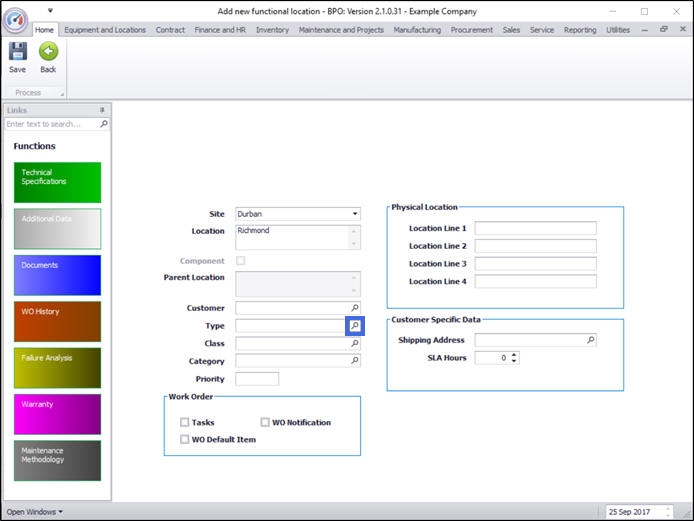
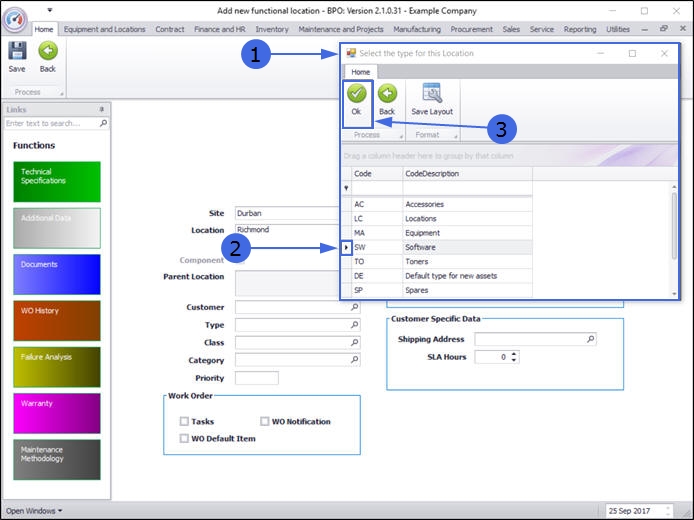
- The Select the type for this Location screen will pop up.
- Select the row of the type you wish to assign to this location.
- Click on Ok.
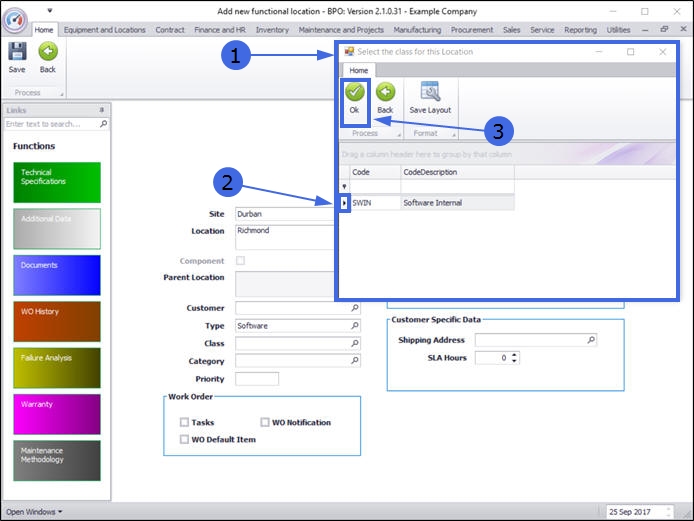
Select Class
- Click on the search button in the Class field.

- The Select the class for this Location screen will pop up.
- Select the row of the class you wish to assign to this Location.
- Click on Ok.
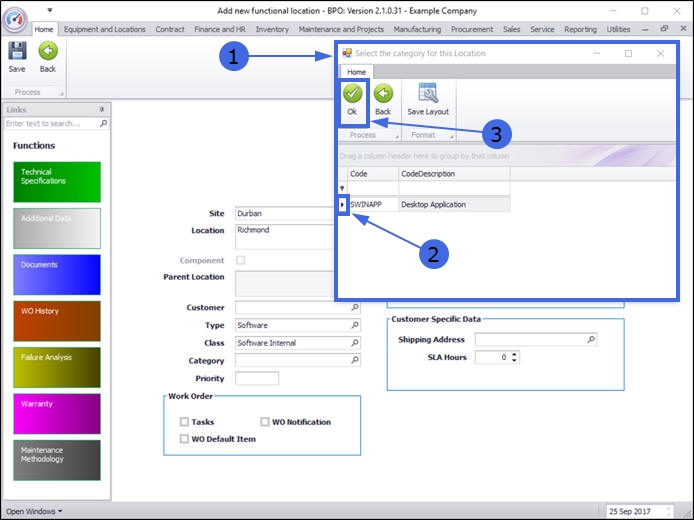
Select Category
- Click on the search button in the Category field.
- The Select the category for this Location screen will pop up.
- Select the row of the Category you wish to assign to this Location.
- Click on Ok.
Select Priority
- Type in a Priority for this Location.
- (1 = Most Important, 5 = Least Important)
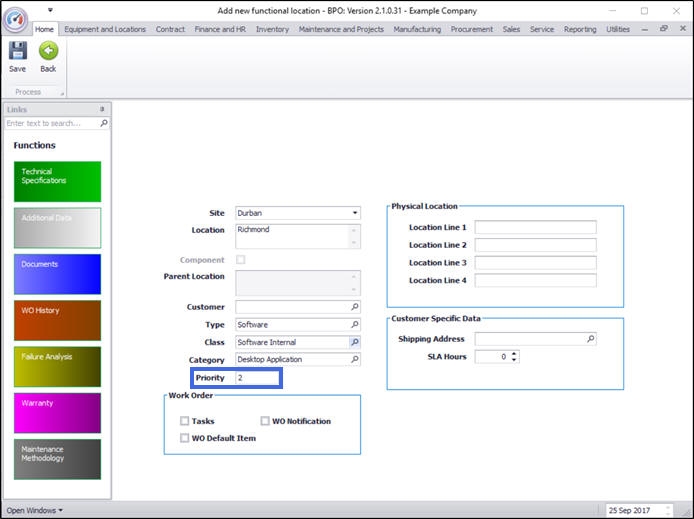
Physical Location Details
- Physical Location: You can type in extra information here, if required.
- As we are creating a generic location, not linked to a customer, the Customer Specific Data frame does not need input.
Save Location
- Click on Save.

- A Functional Location message box will pop up advising the following:
- The location: [] has been saved.
- Click on OK.
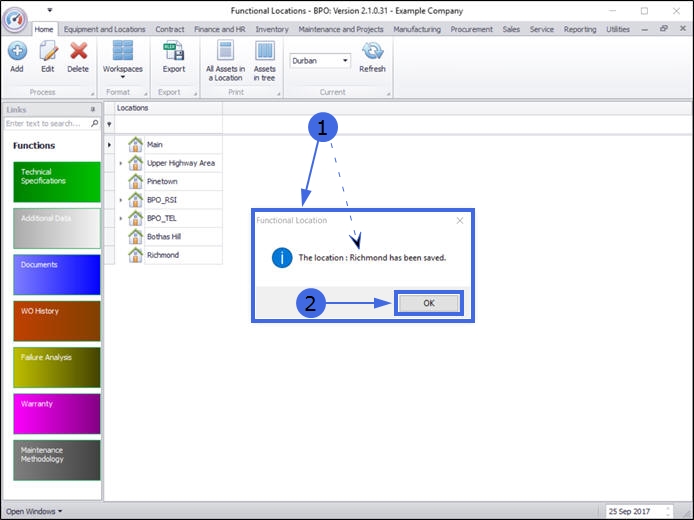
View New Location
- You will return to the Functional Locations listing screen.
- The new location will appear in the Functional Location tree.
MNU.001.002